
From the amount of email I received after this post, I'd say I hit a nerve with quilters who are frustrated with free motion quilting. I felt encouraged to continue on and quilt this piece entirely with the foot on and the feed dogs engaged.
 To this end, I consulted Linda H of Stitch Lines, who teaches machine quilting. She agreed that there are many who just want to quilt with a foot, and there's certainly nothing wrong with that. We tossed around a couple of ideas to use on this piece. Thank you Linda for your valued input.
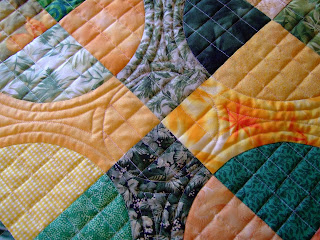
The cross-hatched 1" grid on the circles came out looking pretty spiffy, if I may say so, but the bare spot in the centre was needing something more.
 I found a can lid the right size and traced a circle.
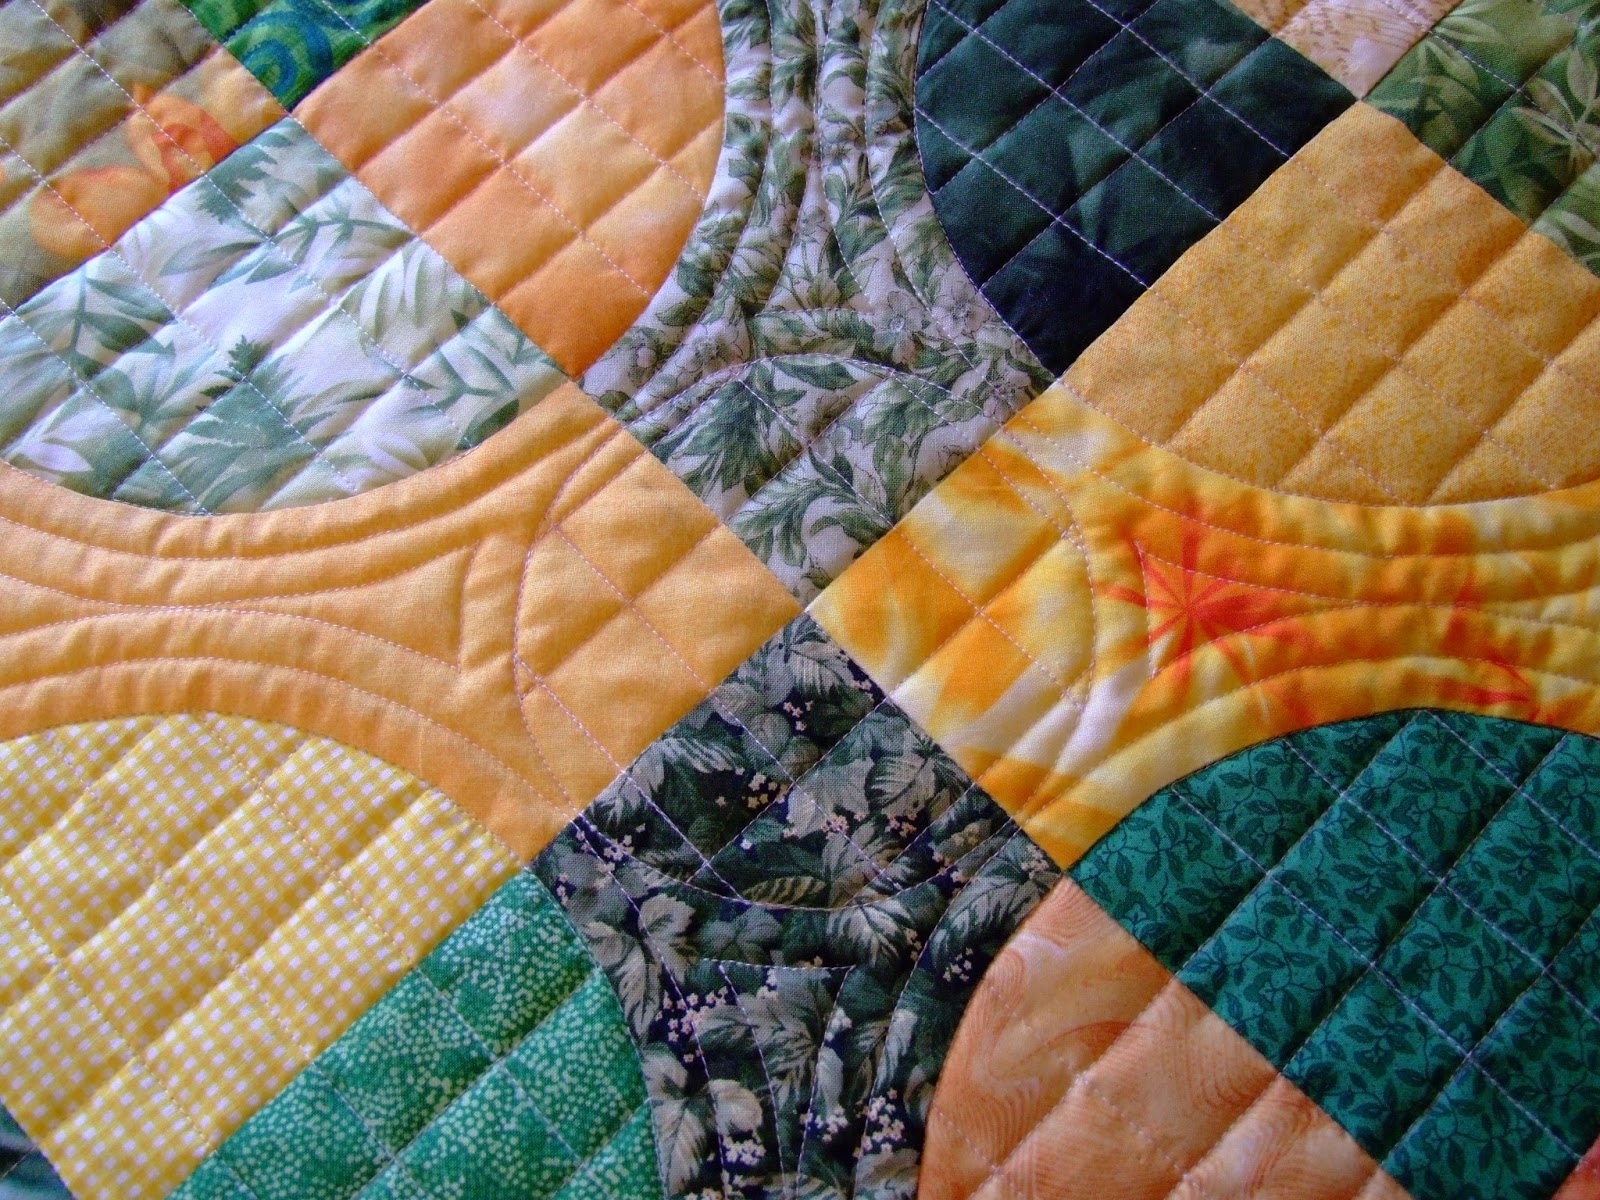
 I added the grid lines as in the other circles, and then echo quilted the remaining end sections using the edge of my walking foot as a guide. Serendipitously, the foot was the perfect width to have the lines of stitching meet exactly in the centre. (errr...I mean, I planned it that way!)

 I did a double row to outline the spikes, and it really makes them stand out.

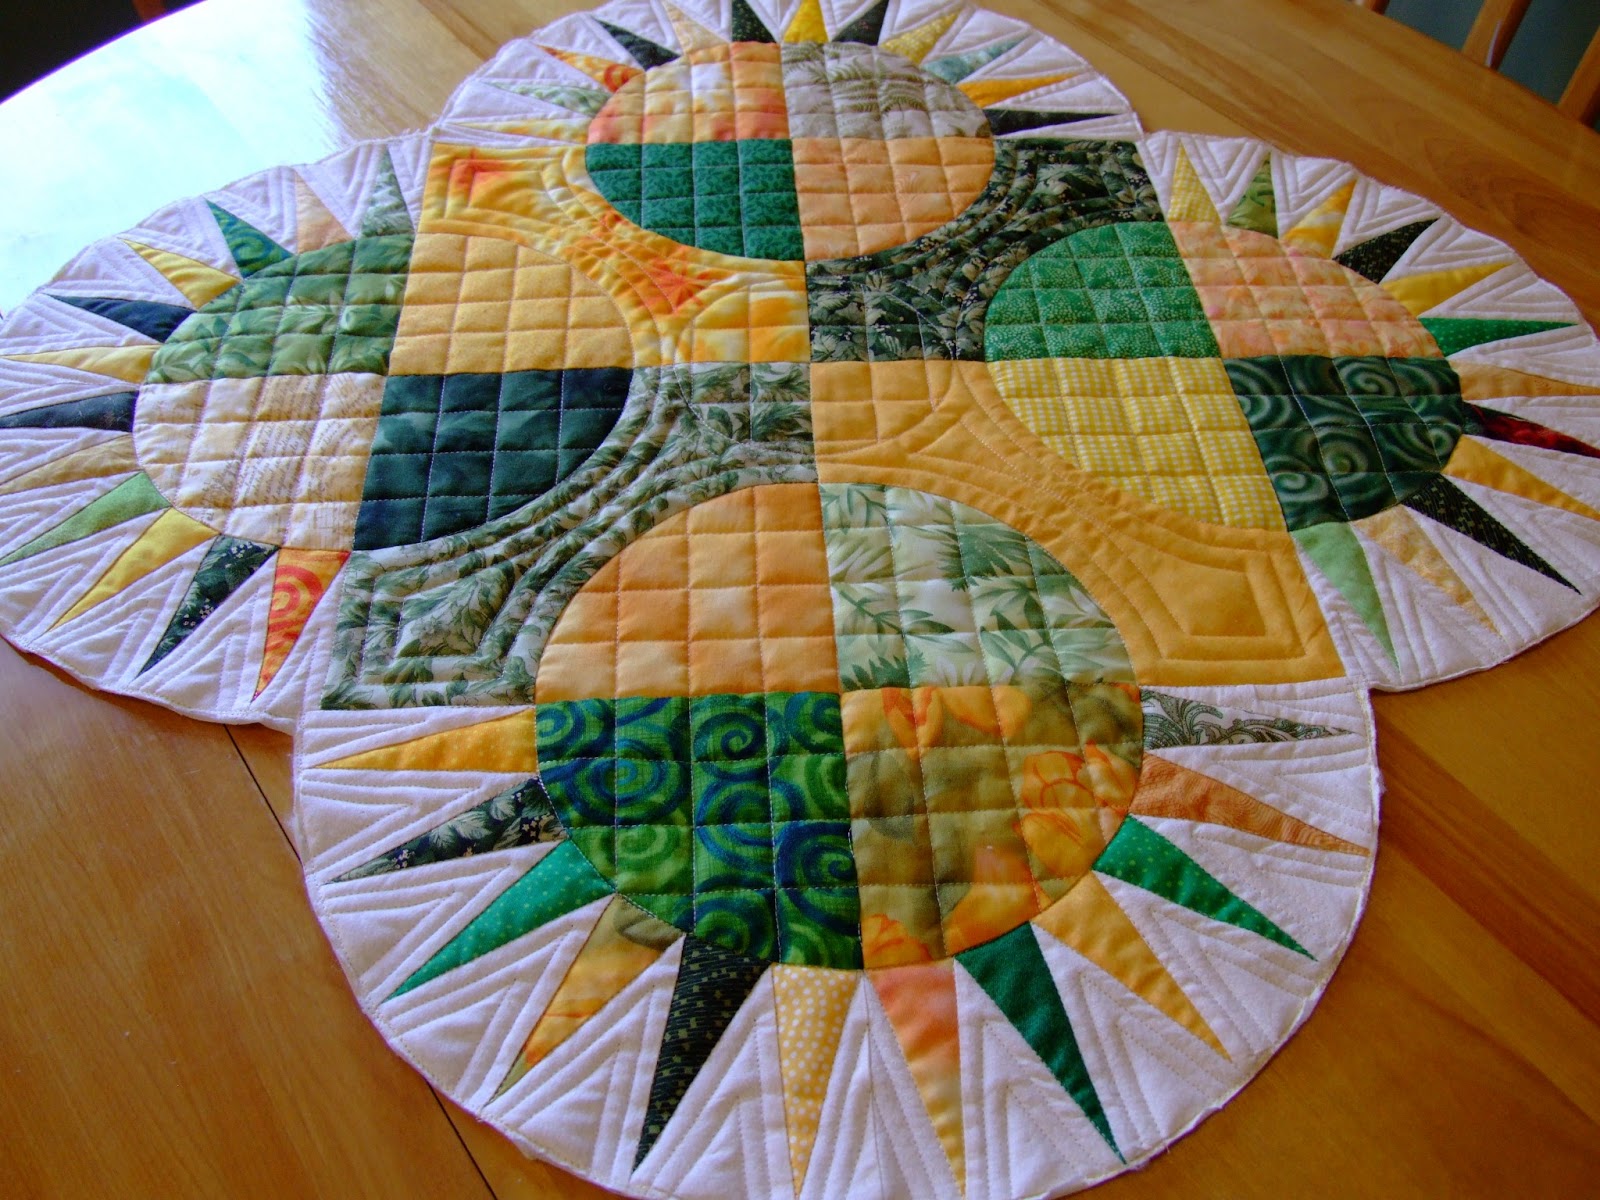
 Here's how it looks finished. The quilting shows so nicely as I've used one of my new Legacy wool batts.


 If you've been stumped as to how to quilt your Maritime Beauty, perhaps you will find some inspiration here.

The cross-hatched 1" grid on the circles came out looking pretty spiffy, if I may say so, but the bare spot in the centre was needing something more.


For the spaces between the spikes I removed the walking foot and simply used my regular 1/4" foot. This was the part I had groaned about to Linda, as I felt it would take forever to stitch it this way compared to stippling. However, because it was on the outer edge of the centrepiece, it was very easy to turn the quilt on the machine bed and it took no time at all to stitch.


On the back is a plain, soft yellow solid cotton.

This piece is ready now for my May 4th workshop; at that time I will add the binding.


It looks GREAT Karen!! Love the V's outside the spikes and the cross-hatching in centre looks great too! I'm sure all your followers who love quilting with their walking foot will LOVE this one!!
ReplyDeleteI love the look of straight-line quilting. At least it is my current favorite.
ReplyDeleteI really like that. It is simple and goes really nice with the pattern.
ReplyDeleteI L O V E Cross-hatched quilting... and your piece is beautiful. Enjoy your workshop I know the participants will!
ReplyDeleteI started my Maritime Beauty kit yesterday and am so close to finishing it. I am amazed by how how easy I found it. On to the Christmas one which has been languishing since the basement was flooded last year. Thank you for all the tips on quilting it. I will use on future ones.
ReplyDeleteI love, love, love it!!!!! I can even do that kind of quilting! I just made a bag for my daughter-in-law and machine quilted the fabric and batt before cutting out and sewing the bag - will be doing more of that! I am anxious to learn more about cross hatching.. I am so looking forward to our workshop : )
ReplyDeleteWow! That is stunning!
ReplyDeleteCarol