Sew Karen-ly Created...

If you have arrived here via a link (such as to a tutorial) click on "Sew Karen-ly Created" to return to the latest blog post. I invite you to my website to see a gallery of quilts and patterns available for purchase.
Comments are always appreciated, simply click the word "comments" at the end of each post to leave your message. Thanks for stopping by!

Tuesday 19 March 2019

Wild Strings Quilt Tutorial

As an Island Batik Ambassador, all products in this post were given to me by Island Batik, Aurifil thread and Hobbs Batting.
The Island Batik Ambassador challenge for March is "Vintage Re-imagined."
We are free to interpret the topic any way we choose, and it's always so interesting to see how different 50 Ambassador imaginations work. Our guidelines this month were

  • Vintage quilts inspiring new creations
  • 36” x 36” or larger
  • Any technique
When I think of vintage quilts, simple scrap patterns come to mind so of course it didn't take me long to consider doing one of my favourites, a string quilt. Here's one made in Missouri, around 1860. Most of the strips run horizontally in these blocks, with just one being vertical.  Do you suppose the maker planned that? It certainly adds interest to this quilt.
I thought of some of the ways I have pieced string blocks in the past, and looked to a way to modernize the look.  These were all graduation gifts for friends of my son, and all contained the same scraps.

This made for a quick baby quilt:

I've taught classes on string quilting, and encourage the recycling of old phone books, or any catalogues printed on thin paper, to use as the foundation. This cushion was pieced on left over tax forms from Revenue Canada. :)
You can find tutorials for a couple of string projects on this blog, showing how to stitch the fabric to the foundation paper:  Christmas placemats, a tote bag, and even an apron.  One of the cool things about strings is you can make your blocks any size or shape, including circles...
60 degree diamonds...

or rectangles.

60 degree diamonds always intrigue me, as you can set them together so many ways to make really cool patterns, but rectangles are of course way easier to sew together, with no Y seams.  If there was just a way to combine the two. Hmmm... I dug out some large sheets of newsprint and started playing with paper, pencil and the 60 degree line on my ruler. (These large newsprint pads are available at art supply shops. These came from The Art Shack in Moncton, New Brunswick.)
I found that a rectangle 6-1/2" x 10-1/2" divided diagonally corner-to-corner gave me a 60 degree line through the centre. Perfect! 8 across and 6 down would make a lap sized quilt. I cut 48 pieces 6-1/2" x 10-1/2" and drew my diagonal lines in one direction on half of the sheets and running in the opposite direction on the other half. 
Now to decide on colours.  "Vintage" always makes me think cream and black so I went hunting through my Island Batik stash.  I had some plain black which I wanted to use for my centre strips, and discovered a rather unconventional strip set, a partial layer cake, and some yardage to match.  Sewing one test block, I was hooked on the look.  The main fabric line is called "Wild Things", with a few leftover 10" squares of "Jungle".

I started by cutting the solid black into 2" strips, and centred them on the diagonal lines. The colours were cut in varying widths, from 1/2" to 2-1/2" and split into lights and darks.  I pieced one side in each, separated by the centre black.

For the outer row, I used solid black to do one side, so that the diamonds running vertically were complete.
I added a 2" border to the top and bottom in solid black, and a 6" border all around of the coordinating print.  Isn't this gorgeous?!?

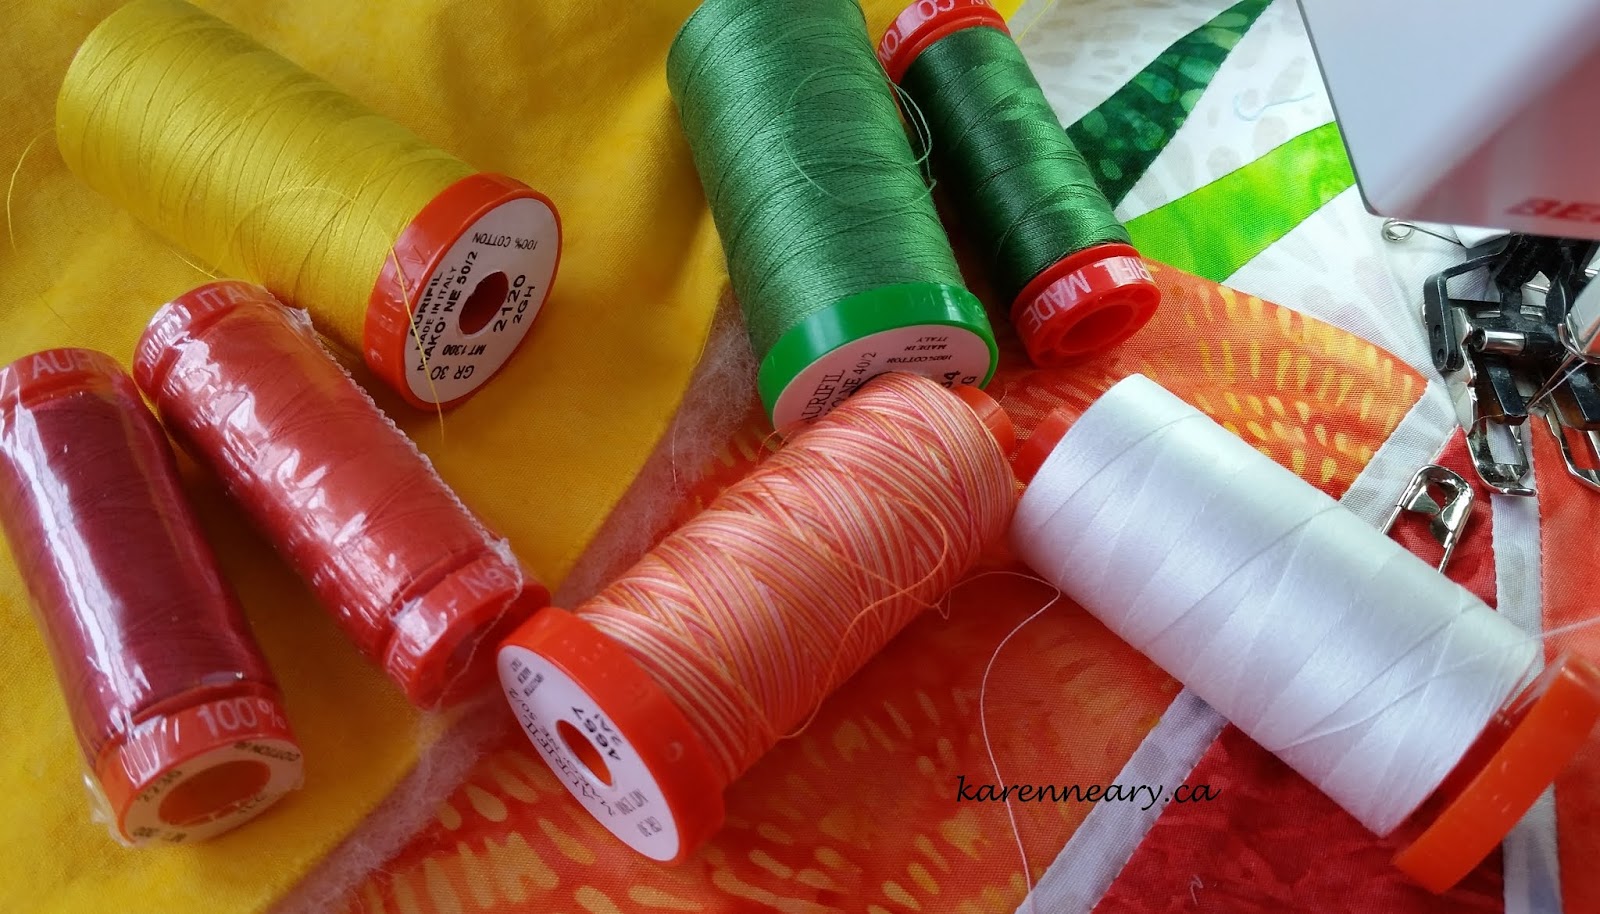
Because the quilting would not show, stitching in the ditch of each strip was all that was needed.  The border was quilted in concentric wavy lines, and bound in black.  Aurifil thread was used for both piecing and quilting.
Hobbs Tuscany silk  batting was used in the centre. 

Finished quilt is 56" x 72" .  To me, this quilt has a masculine, modern vibe.  I really like it.

Because of the fabric line used, the quilt is named "Wild Strings".
It is pictured here with the resident wild cat, Polly.  Look at those claws!!!

Thank you to Island Batik, Hobbs batting, and Aurifil thread.  You can find the complete list of 2019 Ambassadors here;  please visit each to see how the Vintage Re-imagined Challenge has been met!

Saturday 16 March 2019

10 Carrot Gold!

The bunnies are back for more carrots! 
Last year, I made these adorable carrot treat bags using Island Batik fabrics and a tutorial on the Make It Love It site.
I purchased these ceramic  bunnies when our boys were little, and bring them out every spring.  They never looked cuter than when pictured with these vibrant (giant!) orange carrots. The treat bags were all given away as gifts, so clearly we needed some carrots which would stay here.
In this year's Island Batik Ambassador box, among the stack of blenders were some gorgeous orange and greens, as well as Aurifil threads in coordinating colours.  The fabrics obviously wanted to become carrots, so off we went. 

I drew out my desired design in EQ8, elongated triangles separated 
by narrow sashing to make them stand out.
The carrot tops were easy to draw as foundation patterns.
The whole thing took no time to sew. My batting is Hobbs Thermore, which was also included in our Ambassador boxes, because it quilts beautifully without adding bulk. You don't want lumpy table runners.
The quilting is all free-motion, and unmarked - my favourite way to quilt.  The curved cross-hatching added between the carrot tops was done with a ruler and ruler foot.
A green binding sets off the colours nicely (it's an Island Batik blender called "leprechaun")
The back is another blender - daffodil - in yellow.
The runner will stay on the table throughout spring.  The very imaginative Cheryl Coville - to whom I owe a huge thank you for pattern editing - suggested this would be fun done with creamy whites for parsnips, and red for beets.  She's right, of course (she always is). The length of the runner is easy to adjust to suit your needs - just add or subtract carrots as needed. Your runner may end up as 24 carrot, but I settled for 10.
A huge thank you to sponsors Island Batik, Hobbs Batting, and Aurifil thread for supplying the materials.

The pattern is available from my website as a mail-out, or a download.  Locally, you will also be able to find it very soon at Mrs Pugsley's Emporium.  Happy (almost!) Spring.


Friday 8 March 2019

Colorful Batik Panel Quilts


As many in this business do, I receive numerous requests to review books and products on my blog.  I always turn these down. However, when a query arrived about the above pictured book by Judith Vincentz Gula, I was intrigued, and said yes...for two reasons.  Over the past couple of years, I have been working almost exclusively with batiks, and am a huge fan of these beautiful hand dyed fabrics. I welcomed the opportunity to learn more.  The second reason is that I am familiar with the author's website and found it to be a wealth of interesting information.  I landed there first from a Google search on "batik tjaps", and have re-visited the site many times to view Judith's collection of antique and vintage copper tjaps.  

Colorful Batik Panel Quilts: 28 Quilting & Embellishing Inspirations from Around The World  by Fox Chapel Publishing, shows how to embellish Indonesian  hand-made batik panels, to turn these Fair-Trade fabrics into one-of-a-kind art pieces for your home.  These techniques would work with beautiful Island Batik fabrics as well as with the panels Judith shows. 

The book flows in a logical progression, from the starting point of explaining the batik process, to bordering and embellishing the panels, and ending with a gallery of 24 finished art quilts. Although the book is not large, there is a great deal of information packed into the 64 pages.  Clicking this link will allow you to see a few of the pages, which include simple patchwork instruction for 3 projects (such as how to create log cabin blocks) as well as a primer on hand embroidery stitches.  This is not an in-depth look at batiks by any means, but a good introduction to open one's mind to possibilities. The strength of the book lies in the profusion of pictures on every page, vibrantly printed on glossy stock.  I enjoyed seeing the beautiful pieces created from these fabric panels.


Tuesday 5 March 2019

Welcome Aboard!

As many locals now know, Mrs Pugsley's Emporium recently began stocking Island Batik fabrics. For me personally, that's a big WOO HOO to be able to get these gorgeous fabrics locally!  Included in the first load of fabric the shop received, was a white and blue anchor print which took my fancy. Paired up with blue, red and yellow, these bright primaries are perfect for a baby quilt.
But what should the design be?  Clearly, with the anchors as background, it needed to be something nautical.  Hmmm..cute+ nautical = whale, to me!  My other consideration is that the anchors in the print run in a straight line, so I decided to leave that line uninterrupted, and appliqué the whale in the centre.  He looked a little lost there for a bit, so I threw him a life preserver :)
It took some playing around with sizing the whale to get him just the perfect size, but I am secure in saying he is the Right Whale...(despite being a Blue Whale.)
My mandate in designing this quilt was to make it as beginner friendly as possible, and turning the edges of the ring left me stumped for a bit. Raw edge fusible is not always the answer.  I let it sit a couple of days, and woke up one night with the solution - an ingenious one, if I may say so.  Super easy to sew and no pressing under the edges to get that perfect edge.
Borders were left purposely simple as well, with the addition of small star blocks in the corners.
I chose an arsenal of my favourite Aurifil threads for the stitching.  I used 40 weight to blanket stitch around the whale and ring, and also in the bobbin.  
Aurifil 12 weight was used to stitch his eye and his big happy smile.
The backing fabric is a cuddly yellow flannel I purchased at Mrs Pugsley's Emporium, and the batting is my favourite Hobbs wool. While quilting, I got the idea to free motion quilt something in the life preserver;  HMCS Halifax was what came to mind, so I Googled to see how it would be stitched.  
Nearly every image in my search showed this:
What a perfect sentiment for a baby quilt: welcome aboard!  
I stitched it on using blue thread so it would show up.
I think this space would also be great to personalize the quilt, and stitch the little one's name and birth date:
The outer blue border is quilted in a rope design. The quilt is 32-1/2” x 36-1/2” and suitable for a beginner quilter.
You can find the pattern for Welcome Aboard locally at Mrs Pugsley's Emporium, 50 Victoria Street East, Amherst, N.S., or purchase a kit with the exact fabrics used. The kits are exclusive to Mrs Pugsley's Emporium, and the sample quilt is on display in the shop.
Patterns are also available as a mail-out from my website. or can be downloaded instantly here.  As always, the pattern is in colour, with appliqué shapes and templates given at full size and ready to sew (no enlarging).
A sincere thank you to Cheryl Coville of Grandma CoCo Designs for her help in editing the pattern.
Welcome Aboard, little ones!