Sew Karen-ly Created...

If you have arrived here via a link (such as to a tutorial) click on "Sew Karen-ly Created" to return to the latest blog post. I invite you to my website to see a gallery of quilts and patterns available for purchase.
Comments are always appreciated, simply click the word "comments" at the end of each post to leave your message. Thanks for stopping by!

Saturday, 15 June 2013

Close Encounters of The Bee Kind

After a rain-filled week, the sunshine was a welcome sight this weekend.  We checked on the bees.  In the first field, all looked very good.  The hives are full of bees and the worker bees were returning to the hives with the little pollen packs on their legs crammed full of bright yellow goodness.
 In the second field, the bees were equally happy.
This is an earlier field, and the blossoms are just about finished.  These bees will be moved back to home base shortly.
The third field held a box of surprises;  the last one we opened seemed to have about half as many bees as the others.  That comment had barely left hubby's lips when a man from a neighbouring property called over to ask if we were missing any bees;  if so, he knew where they were...
 In his pine tree :)
They weren't terribly high up so it was a fairly easy task for hubby to reach the branch and shake the bees into a hastily set-up box.

He found the new queen right away, so we are hoping she persuades her loyal subjects to make their new home in this box.  We will find out for sure later tonight when we go back to check.  Do you think they will still be there?

Edit:  8 pm  We got them!  They are now safely back at home base.

Wednesday, 12 June 2013

Oooooh - cupcakes!

(Or as Cookie Monster says, "Cuppie Cakes"!
I spotted this adorable pattern on Grandma CoCo's site.  Grandma CoCo intended them as egg cosies, but I am seeing these stuffed with a little fibrefill for a killer item at a tea party.  You can download the pattern here! 

Monday, 10 June 2013

Stopping Hopping

The Mirror Ball Dot Blog Hop is officially over.  I'd like to thank all who participated, and for the wonderful comments you left on each artist's blog.  I don't often get many comments here...which is always a bit of a puzzle as my stats counter logs an amazing number of visitors each month and I get tons of email.  I guess most of you are too shy to post "out loud" :)  It pleases me greatly to see that 3 of the winners are Canadian, two of them from right here in Nova Scotia.  Mark has written his wrap-up post here and I do hope you will take a moment to read it and leave a comment for Mark who put a great deal of effort into making this happen.

Sunday, 9 June 2013

Calling All Maritime Beauty Fans!

Vote for Kate! (and after you've voted, scroll to the bottom to leave a comment for a chance to win a book!)
 

Friday, 7 June 2013

Antepenultimate, Penultimate...

...and now the ultimate:  the last of the commissioned antependia, this one for communion.  I spent a lot of time pondering how to quilt the background.  I wanted something quiet that didn't distract from the design.
 In the end, I settled on a simple echo and crosshatch - shown here from the back - and I am very pleased with the result.  Silk quilts up soooooooo beautifully.
There is a bit more stitching to be done before it's finished, but it's almost there.

Tuesday, 4 June 2013

Gail's Beauty

Here's the first finish in from the Sackville Quilt Guild Maritime Beauty workshop and it is
GORGEOUS!
This Beauty was stitched by Gail Baker who very, very carefully selected the colours for her points and quarter circles.  It took some time, but Gail meticulously matched her fabrics to the print used in the centre for a fabulous result.  Gail is planning to make a couple of placemats as well, which has her hubby wondering if this means they will actually get to use them.  I hope so...quilts are meant to be used and loved...and washed.  (That way when they wear out we get to make more!) Thanks so much for sharing the picture, Gail.  It's awesome.

Monday, 3 June 2013

Something fishy here...

We’ve been waiting with baited breath for the final designer stop on the Mirror Ball Dot blog hop; this week it is Nanette Zeller from North Carolina.  Nanette decided to make a 3-D object for her project and by cod, there's no need to be koi about it or skate around saying it: she did a great job. I’m hooked!  While you are on Nanette’s site,  just for the halibut make sure you take the op-perch-tuna-ty to check out her gallery.  I especially like “Oil Cans.” Her work embodies a lot of sole.

Personally, I’ve been having a whale of a time checking out all the Mirror Ball Dot projects these past few weeks; the projects have been so varied and creative, no floundering around and nothing to carp about.  If you have time salmon chanted evening, check out the complete list of participants:

April 21:  Mark Hordyszynski - Launch of the MBD Blog Hop and his project
April 28:  Jamie Mueller / Sunflower Quilts - www.jamiemueller.blogspot.com 
May 05:   Linda Solovic - http://lindasolovic.blogspot.com 
May 12:   Karen Neary - http://sewkaren-lycreated.blogspot.com 
May 19:   Elisa Albury - http://stitchoutsidetheditch.com 
May 26:   Dory Smith Graham - http://worthygoodstextile.wordpress.com
June 02:  Nanette Zeller - www.NanetteSewZ.com

Haddock enough of this nonsense? These puns have been a bunch abalone and your throat mussels no doubt hurt from groaning.  Hop on over to Nanette’s where you will be caught hook, line and sinker.

“You can tune a guitar, but you can't tuna fish. Unless of course, you play bass.”

Wednesday, 29 May 2013

Anticipation Revisited

One day back in 2006, Diane Shink dropped in for a visit on her way back from P.E.I.  She had been to the Quilt Gallery in O'Leary and spotted their newly arrived "Red Haired Anne" fabrics.  Diane left me with four Fat Quarters and suggested that perhaps I should design a quilt to go with them, as the fabric line had no patterns.  I laughed and said "no thanks" as at that time I was up to my elbows in magazine work and not wanting to take on anything more.  Diane hadn't reached River John by the time I had sketched my design on the computer and called The Quilt Gallery for more fabric!  Here's what I came up with.  I named the quilt Anticipation.
The inspiration was of course Anne's iconic straw hat and red braids.
My first version of the quilt was pieced using just the Red Haired Anne line, but I stitched it again using a Maywood Studio print featuring a bed of wildflowers for the golden background.
As if designing a pattern isn't complicated enough with getting it tested, copyrighted, printed and packaged this one had the added red tape of needing approval from the Anne of Green Gables Licensing Authority.  Everything to do with Anne is heavily regulated (rightly so) and the quilt needed a nod from the board before the patterns could be sold.   As a lifelong Anne fan, it was a huge thrill to speak with Lucy Maud's granddaughter, who loved the quilt and gave her blessing for the license.  The pattern was popular but it turned out to be a lot of bookkeeping and expense, as in addition to the licence fee there were also royalties to submit.  When the pattern run sold out, I did not reprint.
It was a real treat to receive this picture yesterday from Val of Maple Leaf Quilters.  She has added her own very special touches, making an already feminine design even more so.  I love the treatment of the hat, with the appliquéd flowers and the lace edging on the brim.  Val has also cleverly fringed the ends of the braids and left them hanging free.  Sweet!  You can read more on the construction of Val's quilt here.
One of the interesting things is that although we think of the Anne series as being for the younger set, Val's quilt will be a gift to an adult friend who grew up loving the Anne books.  My green and gold version of the quilt shown above was commissioned by a woman for her sister in Australia undergoing chemo treatments.  They hadn't seen each other in years, but she remembered the bond they had growing up and reading the Anne books and knew that it would bring comfort.  The bond of kindred spirits never wanes, I guess.  A very sincere thank you, Val;  I hope your friend loves it.  I know I do.

Tuesday, 28 May 2013

Marjorie's New York Roundabout Again

Here's a lovely finished NY Roundabout Again from "Shepody's Quilter" Marjorie in New Brunswick.  She and two pals, Connie and Marla, each made their own version.  You can see more pictures on Marjorie's blog, which is aptly named Marjorie's Busy Corner;  you will see she keeps her machine up and running at all times!
Thanks for sharing Marjorie, and for the beautiful work you did.  The pattern for NY Roundabout Again is available on the checkout page of my website.

Monday, 27 May 2013

Splitting Up and Moving Out

Not us - the bees! :) This was a busy bee weekend as not only was it time to move some hives into blueberry blossoms, but also to install the new queens who had arrived.  The weekend weather was miserable-  cold and rainy - and not just any rainy, but "heavy rainfall warning" rainy.  Fortunately I am a woman who owns rubber boots and knows how to wear them...
As I've shown before, the queens arrive in individual cages with a few attendants in each cage to make sure she is kept fed and happy on the flight.  The queens come from Hawaii and I always figure it's a brutal shock to their systems to suddenly wake up and find themselves in Nova Scotia.  As beautiful as it is here, our climate is quite different than these ladies are used to.  It was around 13° C yesterday as we worked;  what was it like in Maui, Mark?
I didn't take a picture, but stamped on the bottom of the cage was the word Kona, which of course made me think of Kona cotton and Kona Bay fabrics.  Sometimes it's hard to leave the quilting behind even in the beeyard!  Hubby puts cage and all right into the hive.
The worker bees will chew through the sugar plugs at each end of the cage to release their new queen.   I've written more in this post, so you can read back if you are interested.
Basically, you split the over-full hives into two leaving the old queen in one and adding the new queen to the other.  Problem is, you have to go through all the frames to find the queen to make sure you have one in each colony.  It's no small job to scan for the queen.  It's hours of work sometimes, just to do a few hives.  If you don't find her the first time through, you have to go back over the frames again and again until you spot her.  She moves very quickly so it's a tricky process.

We feel relieved each time we spot a queen in a hive.  Can you see her here?
I'll help you out, Lynn :)
By last evening, we had found and placed all the queens and then proceeded to move the first group of hives to a blueberry field. We had gone out early in the day to put in the bee escapes and secure the inner covers with nails.  I'm amazed there are so many blossoms out in all this rain.  The other fields where the bees go are a bit behind this one, so no doubt they will travel out next weekend.  Here's hoping the sun finds us for the next move.

Sunday, 26 May 2013

Check out the next stop on the Mirror Ball Dot blog hop.  Dory, from Worthy Goods Textile has stitched up a charming project which I am sure you will love. Don't forget to leave Dory a comment to win some of this fab fabric for yourself.  If you are joining us mid-hop, here's the list of all participants and dates of project posting.

April 21:  Mark Hordyszynski - Launch of the MBD Blog Hop and his project
April 28:  Jamie Mueller / Sunflower Quilts - www.jamiemueller.blogspot.com 
May 05:   Linda Solovic - http://lindasolovic.blogspot.com 
May 12:   Karen Neary - http://sewkaren-lycreated.blogspot.com 
May 19:   Elisa Albury - http://stitchoutsidetheditch.com 
May 26:   Dory Smith Graham - http://worthygoodstextile.wordpress.com
June 02:  Nanette Zeller - www.NanetteSewZ.com
June 09:  Mark Hordyszynski – Close of the MBD Blog Hop / More MBD Inspiration / Judging for Blog Hop Winner
Have fun!

Friday, 24 May 2013

NS Fibre Arts Festival 2013

Yay - the schedule for the 6th annual Nova Scotia Fibrearts Festival is up on the website! Check it out to see the listing of workshops and events planned for this spectacular week in October.
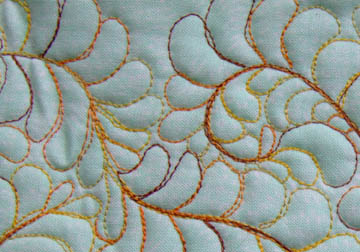
This year I will be teaching one day workshops on beginner feather quilting.  If this is something you've been longing to try but need a little boost in the bravery department, then come join me for a day of instruction and encouragement in the fine art of feather quilting.

Feathers look impressive on a quilt, but really are not difficult to stitch.  We will draw feathers first with a pencil and then with the needle of our sewing machines.  To get started, we may mark a feather or two but mostly they will be stitched free hand without marking.   It is after all, just one basic teardrop shape...
...repeated and repeated for one glorious result!
We will stitch them in a line, 
We will stitch them up a spine,
We will stitch them in a box,
(We will not stitch them with a fox! Sorry...couldn't resist *-)  
We will stitch them in circles...
...and as an overall background pattern.  You will be amazed at what you can do!
Prerequisite for the workshop is some experience and comfort with free motion quilting.  Although this is a beginning feathers class, it is not a beginner free motion class so you should have the basic skills tucked under your belt.  If you have taken my Free Motion Quilting For The Absolutely Terrified workshop then you are good to go.  If you have not taken that class but would like to, I am planning to offer it again in small groups over the summer/early fall (dates and details to follow. Please email if you have a preference for dates and perhaps we can accommodate you)

Cost for Beginning Feathers is $65.00 tax included ($56.52 + $8.48 HST)  This one day workshop will be offered TWICE during the 2013 Nova Scotia Fibre Arts Festival: Friday Oct 18th and Sat. Oct. 19th. from 9 am -3 pm If you would like to register for this class, please email and I will add your name to the list. 
If free motion feathers are not your thing, there is lots more to choose from at this year's Festival, so make sure you click 2013 Schedule at the top of this page to see all of the offerings!

Thursday, 23 May 2013

Facing Appliqué

"Facing Appliqué":  doesn't that sound ominous?...like facing a firing squad, an angry boss, or something equally unpleasant.  In truth, it's a really simple way to turn under the edges of appliqué pieces, and especially useful when working with specialty fabrics such as silk or satin.  While my Father's Day antependium perks away over on one wall and my selvedge tote languishes on the table, I've started in on the communion hanging.  Using a flexible ruler, I traced a gentle shape that will resemble an heraldic shield.
The background fabric is a pure white dupioni silk, and I am envisioning grapes and wheat sheaves on the front.  As much as I am aware that this church likes lots of bright colour, my heart is leaning towards a monochromatic palette - gold on white.  The elements will be representative rather than realistic.
Circles make great grapes.  Were this cotton, I would have run a gathering thread around the edges, pulled the fabric up over a round cardboard template, and pressed under the edges.  This method doesn't work well with the satin-backed crepe I've chosen for the grapes as it doesn't take pressing well so I opted to face the fabric with a lightweight fusible interfacing.  To begin, I ironed a layer of this same interfacing to the crepe side of the satin.  Using a Frixxion pen I traced circles on the interfacing leaving about 1/2" between each circle.  (It is important to leave yourself space for a seam allowance for each circle.)
A second layer of interfacing was placed right sides together with the front side of the satin.   In this case, the right side of the interfacing is the bumpy, fusible side.
 I sewed completely around each circle.
Then I cut them out, leaving a scant 1/4" seam allowance around the outer edge.
 With scissors, I made an X cut in the back...
 ...and birthed the fabric to the right side out through the opening.
Doing it this way puts the fusible side of the interfacing facing out on the back.  With a press cloth, I can fuse these grapes in place temporarily.  The interfacing does not adhere as firmly as fusible web, but just enough to hold the piece in place while you stitch around the edges.  It saves pinning or basting, and I want as few pin holes as possible in the fabric.
Now on to the wheat...which will take some thinking.

Wednesday, 22 May 2013

Pending Antependia

I am down to the last two commissioned liturgical paraments, and the next up is Father's Day.  I find the hangings which are not for actual "church days" to be more of a challenge to get my head around but I like the design I've come up with for this one.  As with most of the others, I chose to use silk. After much thought, I started stitching to see if the idea looked as good in fabric as it did on paper. 
 I really like how this blue goes with the rich green dupioni.  Father's Day falls in the season of Ordinary Time, which is green.  Before it's done, there will also be bits of white and red in there as well.    It looks a little lumpy in this photo but it will flatten with a good press.  Working with silk is very different than cotton and I try to press as little as possible, and always with a press cloth. Direct heat is not a good thing.
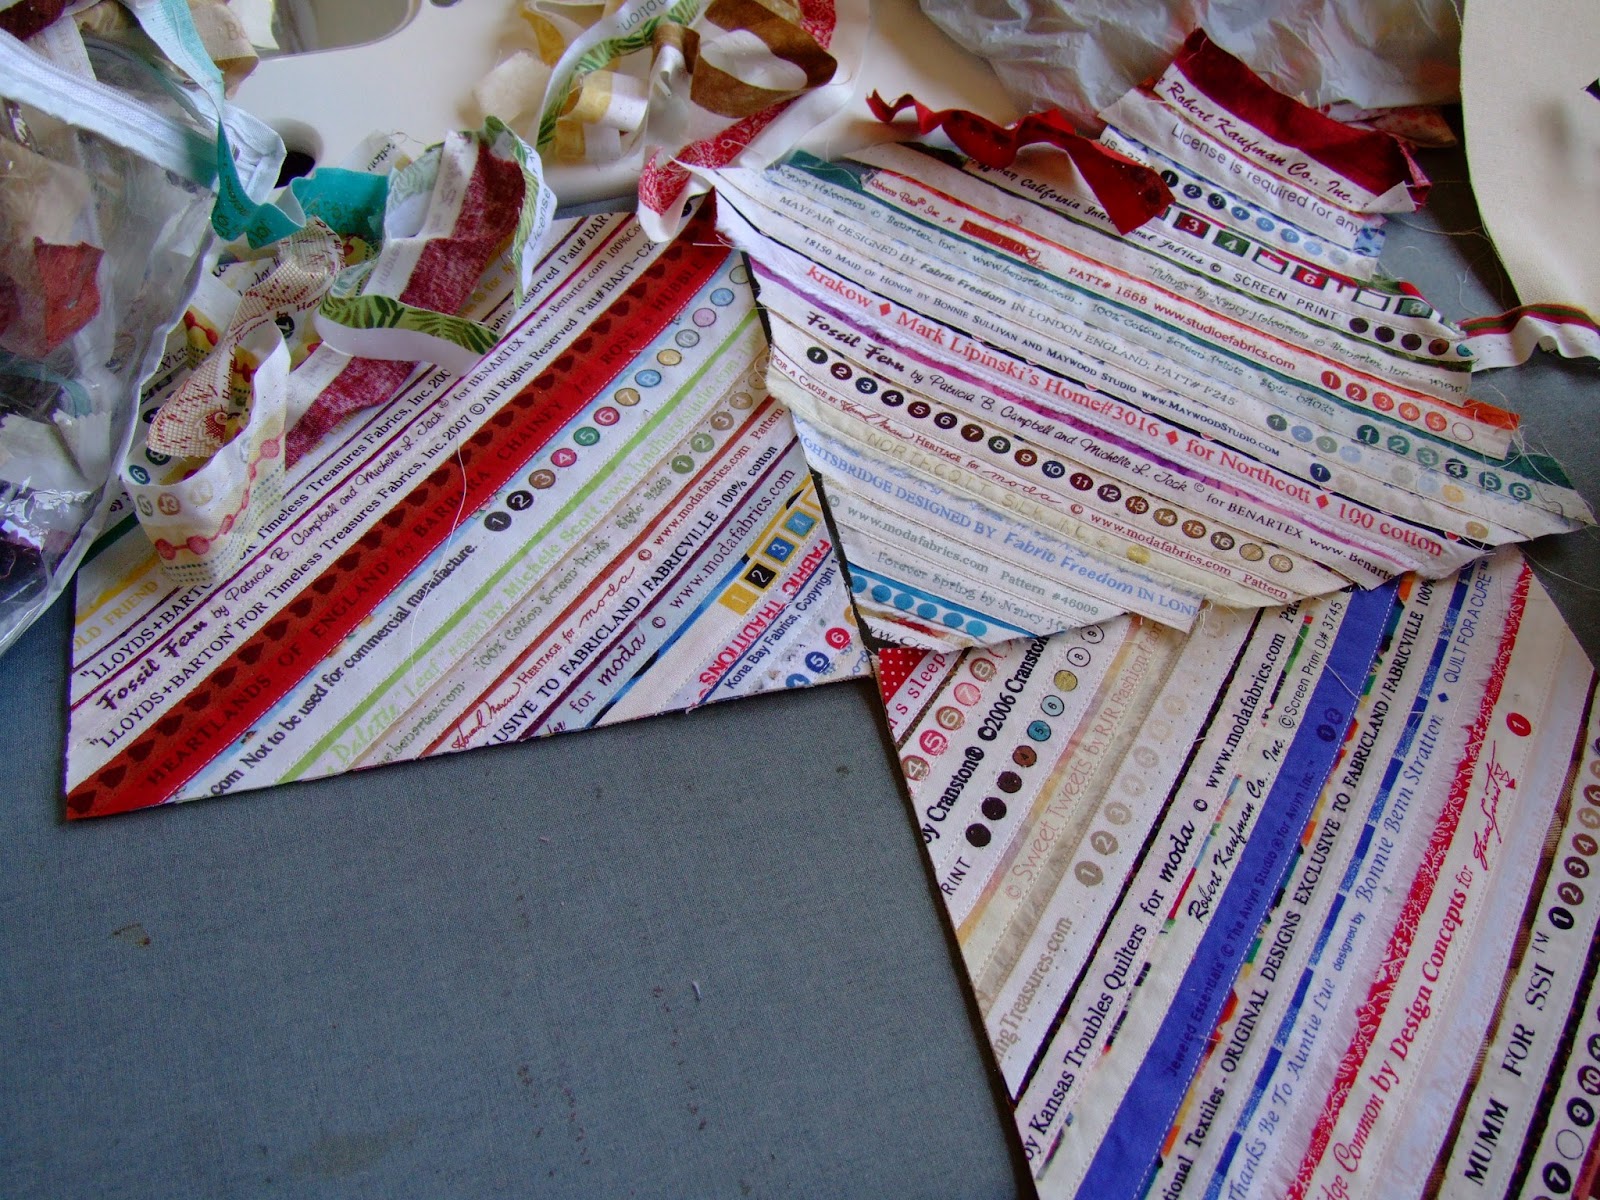
My method is to sew a bit and then walk around it for a few days to see what changes are needed.  In the meantime, I need something mindless to keep my hands busy while my brain is still engaged with the antependium.    My bag of selvedges has grown quite full so I decided to sew some blocks.
 They go together really quickly...
...so quickly in fact that I have finished enough for a new tote.  My original one has been kicking around since 2009 and has quite a few miles on it now.  It can use replacing.
It's tempting to finish up the tote instead of going back to the antependium;  I love the satisfaction of finishing a project and this one is so close I am dreaming of my reward already. :)

Tuesday, 21 May 2013

Kitty Kiddies

This is a post for all the cat lovers out there,  pictures of Polly and Maddie being cute.
I've shown this first picture before.  It's Polly when she was very young, snuggling with the stuffed cat (named Catee) on the back of the couch.  Each time Polly had a nap attack, she would seek out Catee to curl up with.  We eventually moved Catee to our bed and Polly continues to seek her company.
When Maddie arrived on the scene last fall, Polly was fine sharing her little stuffed duck and leopard Beanie Baby, but did not like Maddie coming near Catee.  (BTW, the long grey and white strip in the picture is a length of fake fur and lambswool in which both cats love to knead their paws.)
We looked around to find a soft stuffed cat for Maddie and found one just before Christmas.This tuxedo Jelly Belly was perfect, and unbelievably soft...like Maddie.  The stuffed cat got named Charlie.
Maddie took to him right away;  maybe he figures it is his long lost brother?
Fast forward to a couple of weeks ago and here's Maddie curled up for a nap with Charlie.

It's enough to make a cat-mama go, "aaaawwww" :)  Maddie awoke and left, and not 5 minutes later...
Polly arrived in the same spot for her afternoon siesta.
Between the pair, they have almost as many stuffed toys as our two boys did...and play with them way more.  Whoever coined the term "Fur-babies" got it right.