Sew Karen-ly Created...

If you have arrived here via a link (such as to a tutorial) click on "Sew Karen-ly Created" to return to the latest blog post. I invite you to my website to see a gallery of quilts and patterns available for purchase.
Comments are always appreciated, simply click the word "comments" at the end of each post to leave your message. Thanks for stopping by!

Sunday, 8 April 2012

Easter Surprises

The 25 cm snowfall overnight was a bit of a surprise in our otherwise early spring. Polly was surprised - and delighted - to find a little stuffed duck.
She likes it a lot. For the record, the video below has not been speed enhanced - that's all Polly!


Polly would like Ollie to know the duck has not been substance enhanced (i.e. there is no catnip involved.)
We wish you all an Easter of delightful surprises.

Wednesday, 4 April 2012

Polly's Little Chicken

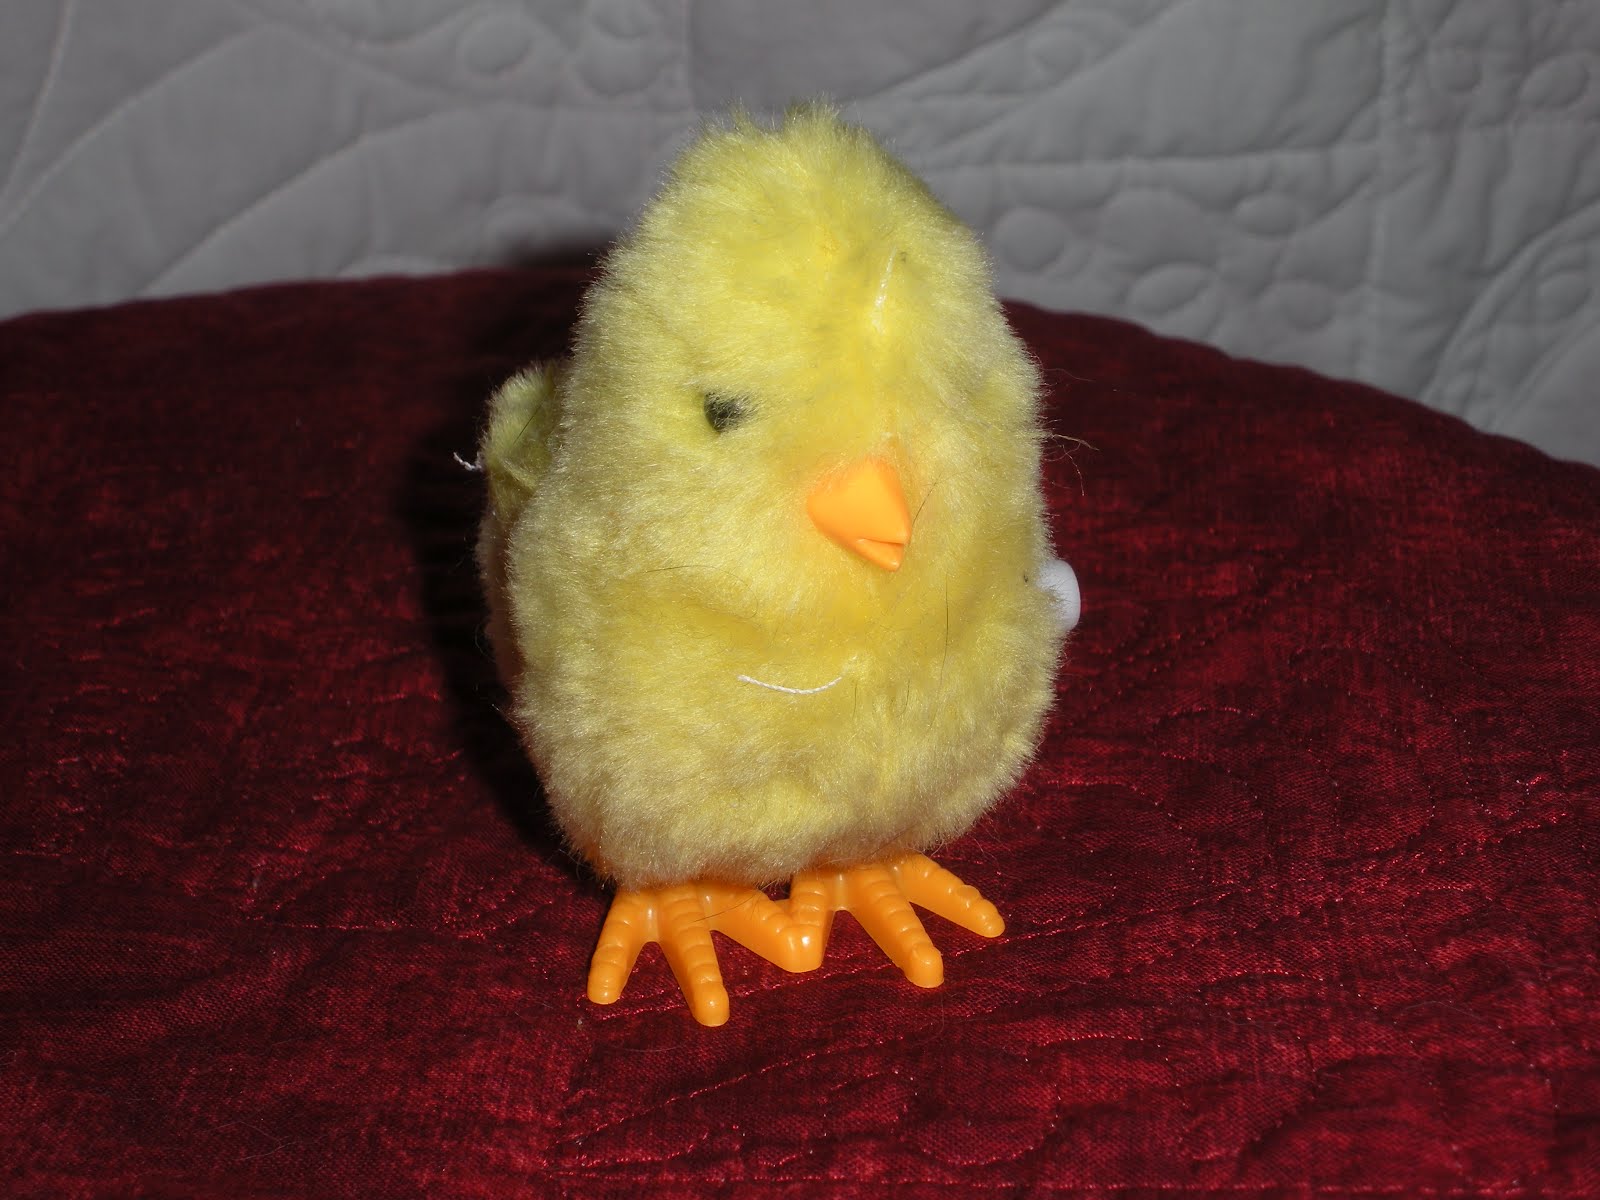
A couple of weeks ago, I returned from an out of town trip to find that mischievous Polly had gotten into the bag of surprises intended for her Easter basket. (Sigh...yes... THE CAT'S EASTER BASKET!) She was having a grand time with this wind-up chick from the $ store.
She has played with it non-stop, carrying it all over the house - upstairs and down.


She likes to watch it walk (waddle, really).

The real fun starts when she catches it.


In fact, she has played with it so much hubby had to crazy glue the feet back on. It was $1 well spent, even if it arrived a bit shy of Easter.

For new readers to this blog, there are a couple of simple project tutorials from past years which may be of interest. There's a Patchwork Tidy Tray here, which can double as an Easter basket and a really quick and easy Easter Egg placemat. Enjoy!

Tuesday, 3 April 2012

Working With Silk

As much as I enjoy working with silk, it does have its challenges. It is thin and slippery and, as you can see in the above photo...the edges fray. The key to success in working with this fine fabric is to downsize your tools to match. Silk requires very sharp pins and needles. A size 70/10 (or smaller)Microtex needle works well for stitching as it has a very sharp point. I buy special silk pins which have a finer gauge than normally used for sewing. It is also important to use your sharpest scissors and insert a fresh blade in your rotary cutter as the silk pulls very easily on a dull blade. In the past I always used 100 weight silk thread but lately I have found Wonderful's Invisifil thread works very well at a fraction of the cost. To prevent some of the fraying and sliding around, I use an ultra light, featherweight fusible interfacing. It's about as thick as gossamer, giving the silk a bit of body without taking away from the wonderful hand of the fabric. Here you see it ironed on the back of a piece of dupioni silk which I am using in my latest antependium. On the back of the interfacing, I have ironed my freezer paper pattern which I drew last week. I wanted to do turned edge applique and was a little unsure how this would work as the silk will not take starch nor very high heat. I found that having the interfacing in place made all the difference in the world and the edges turned nicely.
Onto this large background I will be adding leaf shapes, to make a Tree Of Life. The antependium uses all silk - dupioni, silk habatai and a bit of noile. I drew the heart shaped leaves onto freezer paper and cut the fabric 1/4" larger all around. Because the leaves are not very large, it was easy to place the smooth side of the freezer paper next to the back of the fabric, thus leaving the shiny (sticky) side up. It was an easy job to iron the edges over.


Each leaf got a good pressing (with a press cloth so as not to scorch the silk) and was left to cool overnight. The freezer paper peeled off easily the next day and the creased edges stayed sharp.

When I arranged the leaves in a circle, I used pins very sparingly, and always near the edges. Even very fine pins can sometimes leave a hole which stays. (The funny reflection in this pot lid is a red and blue log cabin quilt which hangs over the work area!)

I used a close blind stitch to secure the edges, and added a bit of detail with free motion stitching.

I am almost finished three of the six commissioned antependiums. After they are presented publicly to the congregation, I will show them here. The first one will be soon, on Easter Sunday.

Powering Up

In an earlier post, I showed this new windfarm under construction on the Tantramar Marsh just outside of Amherst. Beginning last week, they started turning the power on the windmills one by one. Yesterday we counted 13 spinning away.
First we drove to Minudie where there is talk of putting more windmills. You can see the Amherst windmills in the distance here.

Zoomed in a bit:

It was such a nice day we continued the drive into Lower Cove and on into Joggins. This shot is looking towards New Brunswick (is that Wood Point?)

This one is taken approaching the famous Joggins fossil cliffs, a Unesco World Heritage Site.

We've had many folks mention the effect these windmills may have on the bees so we have been interested to hear the sound they make. We drove back to Amherst and out as close as we could in 4-wheel drive. We had the windows and sunroof open on approach and listened keenly. It was only when we killed the engine and sat in silence could we hear a low, gentle whoosh. On a busy day, the beehives themselves are much louder than that!

Monday, 2 April 2012

Sunday Sight Seeing

It was a beautiful day yesterday and I went for a drive with my friend Darlene. Guess where we went? :)
It really is eye catching to see these ironing boards repurposed into a colourful picket fence.


We explored a lot of backroads and came across this intriguing sign on a "Canada Post"(!) mailbox. As luck would have it, the creator of the want ad was present at the time so we exchanged a few pleasantries with him. Both Darlene and I thought it prudent to decline the position.

A trip home to Five Islands is always special. This is Pinnacle Island, and Pinnacle Rock to the right.

The Five Islands lighthouse in its new home.

In order... Moose, Diamond, Long, Egg and Pinnacle Islands.


Friday, 30 March 2012

Thursday, 29 March 2012

Drawing On What's At Hand

Let's face it: very few of us have the drawing abilities of Grandma Coco, who manages to turn everything she touches into a work of art. Most of us draw on other skills - not to mention what's at hand - to help our shapes look recognizable. Over the years I've built up a mental inventory of circular shapes of all sizes in our household. This large lid for a plastic container was not quite big enough for my purpose, so I bent the flexible ruler around it to add another 1/4" or so. Perfect.
A Paderno pot lid defined the inner edges of my circle.

Then it was down to this wide-mouth Corelle teacup to make scallops on the large circle. Note I have used masking tape on the cup to mark the placement on the line.

After all these maneuvers, I was left with this outline on tissue paper. Does it look like anything to you yet? :)

To make my pattern symmetrical, I folded the tissue in half to mark the centre and darkened the lines on one half with a black Sharpie.

I folded freezer paper in half and lined up the creases on the two papers. Then I traced the line.

Folding my freezer paper in half, I cut along the black line, then folded it in quarters to trim my scallops to a uniform shape. I was left with this "tree" shaped background, upon which I will applique leaves and a trunk.

The freezer paper will get ironed to the back side of the fabric and cut with an added seam allowance for turned-edge applique.

Monday, 26 March 2012

Maple Leaf Quilters Maritime Beauty

We have another great "sew and tell" from the Maple Leaf Quilters. Instructor Val did a class on Maritime Beauty, and writes this: "...it seems people are a little intimidated with binding these curved edge quilts. You have great instructions and I walk them through the process but they are still leery." She's right; it takes a lot of encouragement sometimes to convince folks it isn't difficult. Once you try it, you wonder why you didn't do it sooner!
Here's Val's version: Val also made the matching placemat which is included with the pattern. I love the colours she has chosen - my favourite palette.

Melinda used a variety of maple leaf prints in her gorgeous "four seasons" version. Love it!!

Here is Jody's cheery, colourful piece. This looks like spring.


The dark background used by Doris B clearly defines each spiked section. It's so interesting to see how our eyes are led to see certain things based just on colour.

You can enjoy more pictures from The Maple Leaf Quilters on previous a post here. If you'd like to make your own Maritime Beauty, pattern # 108 is available from my website. Thank you Val, Melinda, Jody and Doris for sharing your beautiful work.

Saturday, 24 March 2012

Up In Flames

The Pentecost Antependium got off to a rocky start. My original plan for using shot silk for the flames did not work out. After I had them - as well as the dove - all stitched in place, I simply did not like how they looked. The whole thing got ditched and I started over from scratch. I cut flames from several shades of orange...and red...and yellow, and multi-coloured prints before I finally found the look that suited me.
While I wrestled with the flames, Polly wrestled with the scraps. What a team!

On another shopping expedition earlier today, I found the perfect beaded tassel to hang from the point. We are almost finished.

This beautiful green dupioni silk also found itself in my cart, so the antependium for "Ordinary Time" will be next.