Sew Karen-ly Created...

If you have arrived here via a link (such as to a tutorial) click on "Sew Karen-ly Created" to return to the latest blog post. I invite you to my website to see a gallery of quilts and patterns available for purchase.
Comments are always appreciated, simply click the word "comments" at the end of each post to leave your message. Thanks for stopping by!
Showing posts with label Easter. Show all posts

Monday, 26 March 2018

Easter Carrots

Easter is quickly approaching and it's always fun to sew little cute things. I found this tutorial for carrot treat bags on the Make It & Love It site, designed by blogger "Stitched By Crystal"

As an Island Batik Ambassador, I was sent a very generous supply of fabrics and I knew there were perfect shades of orange and green included. I chose "Round Petal Floral - Cantaloupe" and "Marble - Leprechaun" from their Batik Foundations.  I matched them with Aurifil thread #1114 Grass Green and a variegated orange 4657 called Tramonto a Zoagli. 
Following Crystal's excellent instructions, these came together in no time.
I did make a few "quilty" adjustments, such as using a 1/4" seam allowance instead of the suggested 3/8". Doesn't that variegated orange thread work perfectly with the batik?
Using a sleeve board made pressing the seams open very easy.  Island Batik uses cotton with a very high thread count which means the seams do not ravel the same way a regular woven cotton does.  For this reason, I chose not to drag out my serger to clean finish the edges, as shown in the instructions.
I also folded the cuff down to meet the seamline, so that I could stitch in the ditch from the right side, a trick quilters learn from machine binding. When it came time to make the 1/2" channel for the drawstring, I simply switched to my walking foot, which I know from experience is 1/2" from the left side to the needle.  Quick and easy - no marking!
The treat bags are adorable, and can be filled with all kinds of goodies.  Chocolate eggs are one choice...
 ..but other things fit inside too, depending on your recipient. I am thinking perhaps even a Barbie dress for a special little gal-pal would tuck in nicely :)
Bunny approved!
A fun, quick project.  Thank you, Island Batik and Aurifil thread for supplying the materials, and to Crystal for sharing her pattern.


Friday, 25 March 2016

Easter Bags

I was looking for something quick and cute to stitch for Easter treats, and found these sweet little bunny-ear bags on this site, Sew Can She. 
Making just one took a fair bit of time, since a buttonhole is involved, but if these were done Henry Ford style, you could make a herd fairly quickly.  I used three shades of Mirror Ball Dot; the next ones will be made in a variety of prints.  These will be so cute popping up out of Easter baskets, or even on their own  with little treats inside (a spool of thread fits). Fun! 

This second bag was delivered to my home yesterday, with a special something inside.  I had seen these bags online before, and now I understand why the bottom side seams are left unstitched.  It's an easy way to form a bag bottom. With grommet handles, it looks professionally made.  I will look around for something special to store in this bag...
 ...cos it's doubtful the original (homemade) contents will survive long *-)
Thank you for your thoughtfulness, Marilyn.  Happy Easter!

Wednesday, 20 March 2013

A Tisket, A Tasket; A Cute Easter Basket


Despite this being the first day of spring, here on the east coast of Canada we are enjoying another snow storm, and watching up to 25 cm of the fluffy, white stuff fall outside the windows.  Schools and businesses are closed, making this a perfect time to stay inside to create.
I seem to make a lot of baskets, mostly because I really enjoy filling them with fun and interesting items. You can see a previous one here. Sometimes you just need a small one, to let someone know you are thinking of them;  it's even more special if you can use some favourite fabrics from your stash. I chose a pink dot, but a pretty floral would be awesome. These little baskets are great for shut-ins who could use a little pick-me-up.  Other than a couple of hand-stitches to hold the ends together, this is a total no-sew project that takes little time to complete.
Opening that Pandora's box of Mirror Ball Dot fabrics last week unearthed some pretty Fairy Frost pieces I had forgotten about, including a pastel yellow which looks like sunshine;  it made a perfect lining for this basket.  I had fun working out the design, with a mandate to keep it as quick and inexpensive as possible.  Please read through all the directions before starting to make sure you are clear on what's required.

A Tisket, A Tasket, A Cute Easter Basket

Materials Required:
2, 9-1/4" squares fabric in coordinating colours for basket (i.e., one pink, one yellow)
2, 9-1/4" squares of  heavy weight fusible interfacing*
1, 9-1/4" square of fusible web for basket*
2, 1-1/4" x 11-1/4" pieces of coordinating colours for handle (i.e., one pink, one yellow)
2, 1-1/4" x 11-1/4" heavy weight fusible interfacing*
1-1/4" x 11-1/4" fusible web for handle
2 pretty buttons
Disappearing marker
Strong thread
*Pellon Craft Fuse heavy weight fusible interfacing and Pellon Wonder Under used in sample project.

Fuse interfacing to back of each of the 9-1/4" fabrics following manufacturer's instructions
Apply fusible web to the back of one of the fabrics;  remove paper backing and fuse the interfaced lining on top, wrong sides together.  This fuses the pieces together to create a double sided fabric.   

 Trim to 9" square.
Divide fabric into thirds both vertically and horizontally by drawing lines 3" apart with a disappearing marker. You will have a grid of 3" squares marked on your fabric.
Fold bottom third to centre along marked line and press to crease. Repeat for top section of fabric.  You can see I am using lots of steam to make a crisp line.
Turn fabric a quarter turn and repeat the pressing so that the fabric is now pressed in a 3 x 3 grid.
With scissors, cut along two outer lines on the top and bottom ends only to the centre mark as shown.  Note that you are NOT cutting in from both sides, you are only cutting on the top and bottom ends to the centre. (4 little snips, not 8).
Fold up, and bring sides together, angling a bit at the top edges.  Pin in place.
To make your handle, fuse interfacing to back of both handle and lining sections.  Fuse handle and lining together with the fusible web in between. Trim handle to 1" x 11".  Mark 1" from each end of handle.
Remove pin from basket and slip handle between basket sides and inner square, as far as the 1" marked line.  Re-pin.
Using sturdy thread and handstitches, make an X to secure ends.
I used pink Lily quilting thread which had belonged to my grandmother.  45 cents well spent, Gram :)
Sew decorative button on top to cover stitching. (Thank you for these cute buttons, Mary). That's all there is to it!
Fill it with some fun little goodies and brighten someone's day. The new stamps from Canada Post which feature spring flowers are perfect.
If you make some baskets, we'd love to see them. Kindly email pictures here.

Happy Spring!

Sunday, 8 April 2012

The Easter Antependium


This morning the first of 6 commissioned paraments was dedicated in church. Besides working within specific measurements, my instructions were, "happy, colourful...and with a palm branch." Here's how I interpreted Easter. Comprised of 252 pieces, the patchwork centre is a traditional Mariner’s Compass block surrounded by a ring of Flying Geese. The colours in the outer ring represent the Lenten journey, moving through purple to a single red (for Palm Sunday) and into darkening shades of grey before turning pure white. Palm fronds, reminiscent of laurel leaves, flank the top of the sunburst. Rays are machine quilted in the top section of the hanging.
I began with a sketch of the centre section in EQ7.
Then I added an outer ring, coloured it on the computer, and printed it out full-size (21-1/4" x 24") to use as a piecing guide. The cross on top is cut from white paper strips.
As the work is curved, most of the piecing was done using templates.
Some of the subsections were foundation pieced.
It grew slowly, but it was pure joy to do.
Here's the centre section pieced; it's interesting to see how closely it resembles the sketch.
The palm branches were appliqued and free motion stitched.
A thin layer of wool batting was added to give the piece dimension.
At the top, rays were quilted in the white shoulder sections.
I pondered for some time how to finish the rounded bottom and decided I did not want binding to take away from the design so the backing was added right sides together and the piece was "birthed". The white cross was lightly padded with another layer of wool batt for dimension and was machine blind-stitched to the front.

50 hours later, this was the result.
I have to admit, I am pleased with the piece and delighted with the reception it received at the church.
I wish you all a Happy Easter.

Easter Surprises

The 25 cm snowfall overnight was a bit of a surprise in our otherwise early spring. Polly was surprised - and delighted - to find a little stuffed duck.
She likes it a lot. For the record, the video below has not been speed enhanced - that's all Polly!


Polly would like Ollie to know the duck has not been substance enhanced (i.e. there is no catnip involved.)
We wish you all an Easter of delightful surprises.

Wednesday, 4 April 2012

Polly's Little Chicken

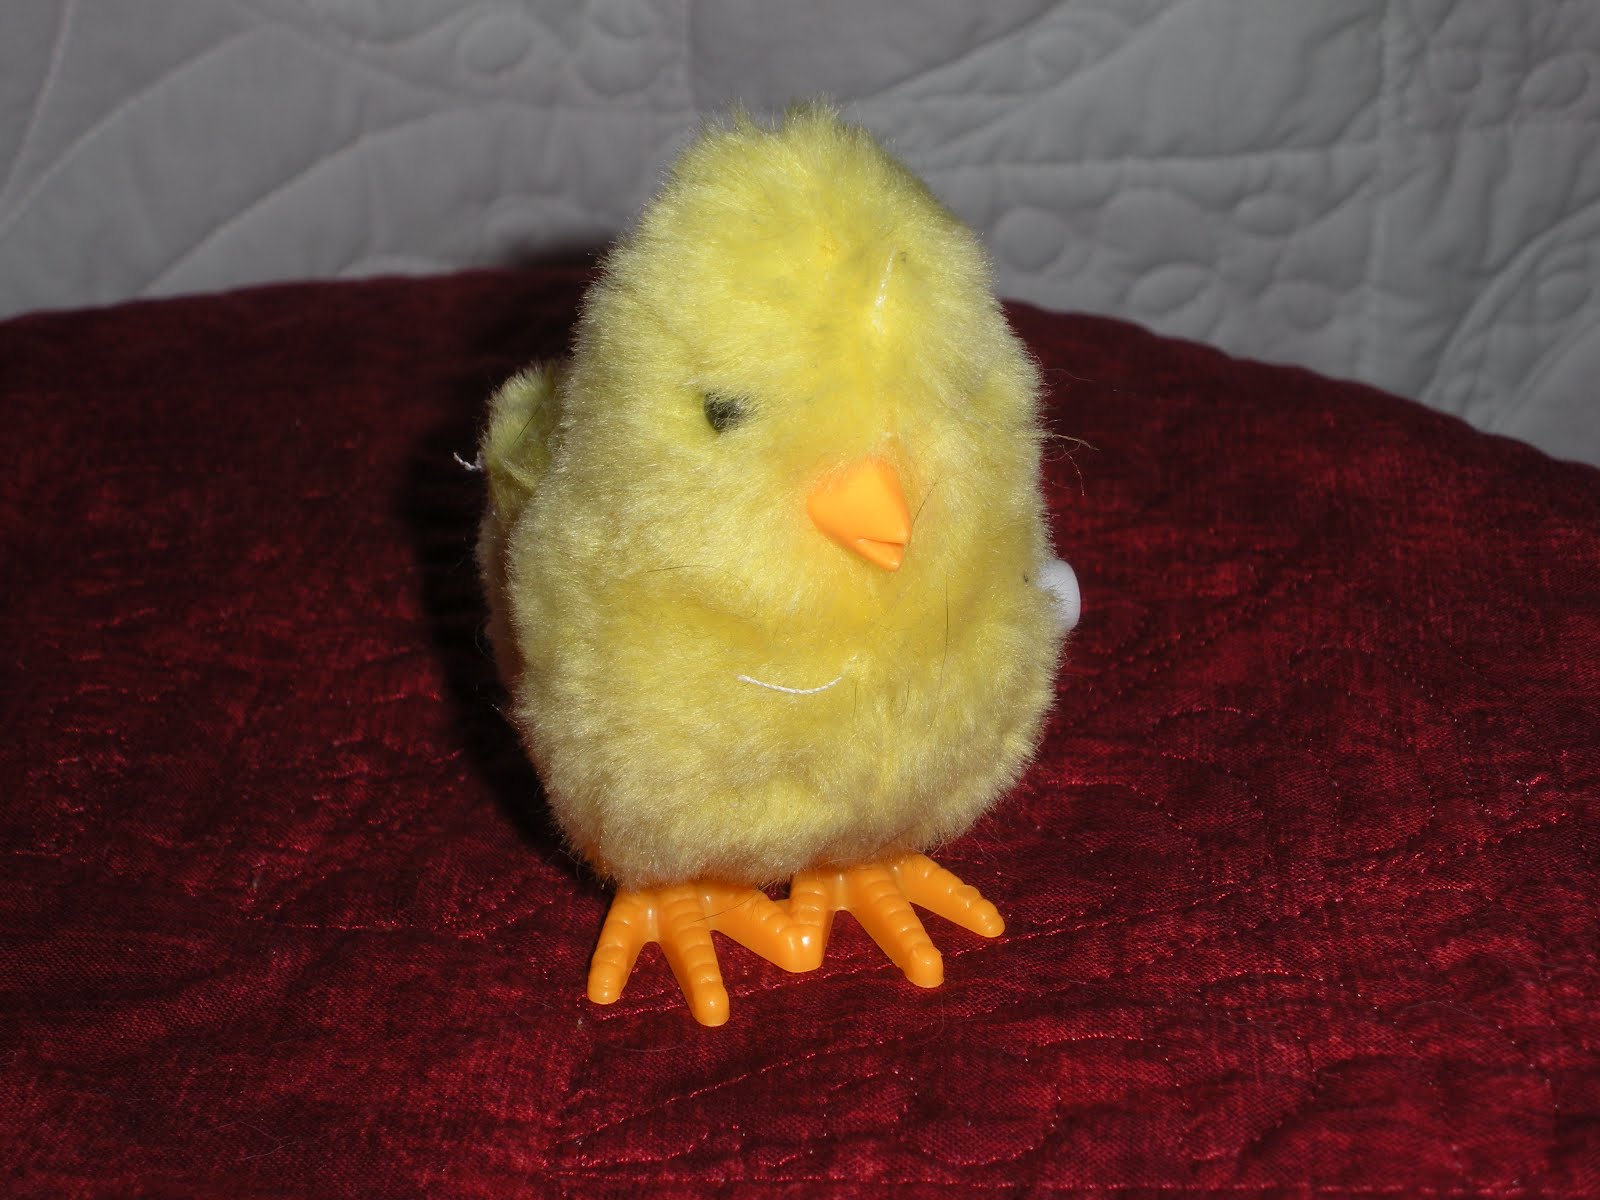
A couple of weeks ago, I returned from an out of town trip to find that mischievous Polly had gotten into the bag of surprises intended for her Easter basket. (Sigh...yes... THE CAT'S EASTER BASKET!) She was having a grand time with this wind-up chick from the $ store.
She has played with it non-stop, carrying it all over the house - upstairs and down.


She likes to watch it walk (waddle, really).

The real fun starts when she catches it.


In fact, she has played with it so much hubby had to crazy glue the feet back on. It was $1 well spent, even if it arrived a bit shy of Easter.

For new readers to this blog, there are a couple of simple project tutorials from past years which may be of interest. There's a Patchwork Tidy Tray here, which can double as an Easter basket and a really quick and easy Easter Egg placemat. Enjoy!