Sew Karen-ly Created...

If you have arrived here via a link (such as to a tutorial) click on "Sew Karen-ly Created" to return to the latest blog post. I invite you to my website to see a gallery of quilts and patterns available for purchase.
Comments are always appreciated, simply click the word "comments" at the end of each post to leave your message. Thanks for stopping by!

Friday, 13 November 2020

Christmas Candy Mug Rugs

Christmas gifting is as much about the present-ation as it is the present, and with this quick and easy scrap-busting project, you get both.  Who doesn't need a mug rug, especially when they come as sweetly packaged as these?! You can turn your mug rugs into lollipops...

...or candy treats!
As quilters, we have lots of cotton scrap fabrics lying around, and these only take 4" x WOF each of 3 different colours. Cotton strips are easy to braid, and may be joined by either the machine or by hand.  Naturally, I do mine by machine. 
The instructions below are for one coaster approximately 6-1/2" across. You need:
  • 2 strips each of 3 colours, each 2" x WOF (a total of 6, 2" strips.) A light,  medium, and a dark work well. (If you don't have WOF strips, just seam together enough shorter pieces to measure around 42".  The joins don't show in the finished project.)
  • neutral 50 weight sewing thread (Aurifil of course!) 2600 Dove Grey is perfect.
  • if stitching by machine, a size 16/100 JEANS needle.
  • 1 piece of clear cellophane 16" x 18".
  • 1 large safety pin.
  • 1 small clip (a clothespin works).
  • scrap of fabric for ties (or pretty satin ribbon). 20" per tie is a good length.
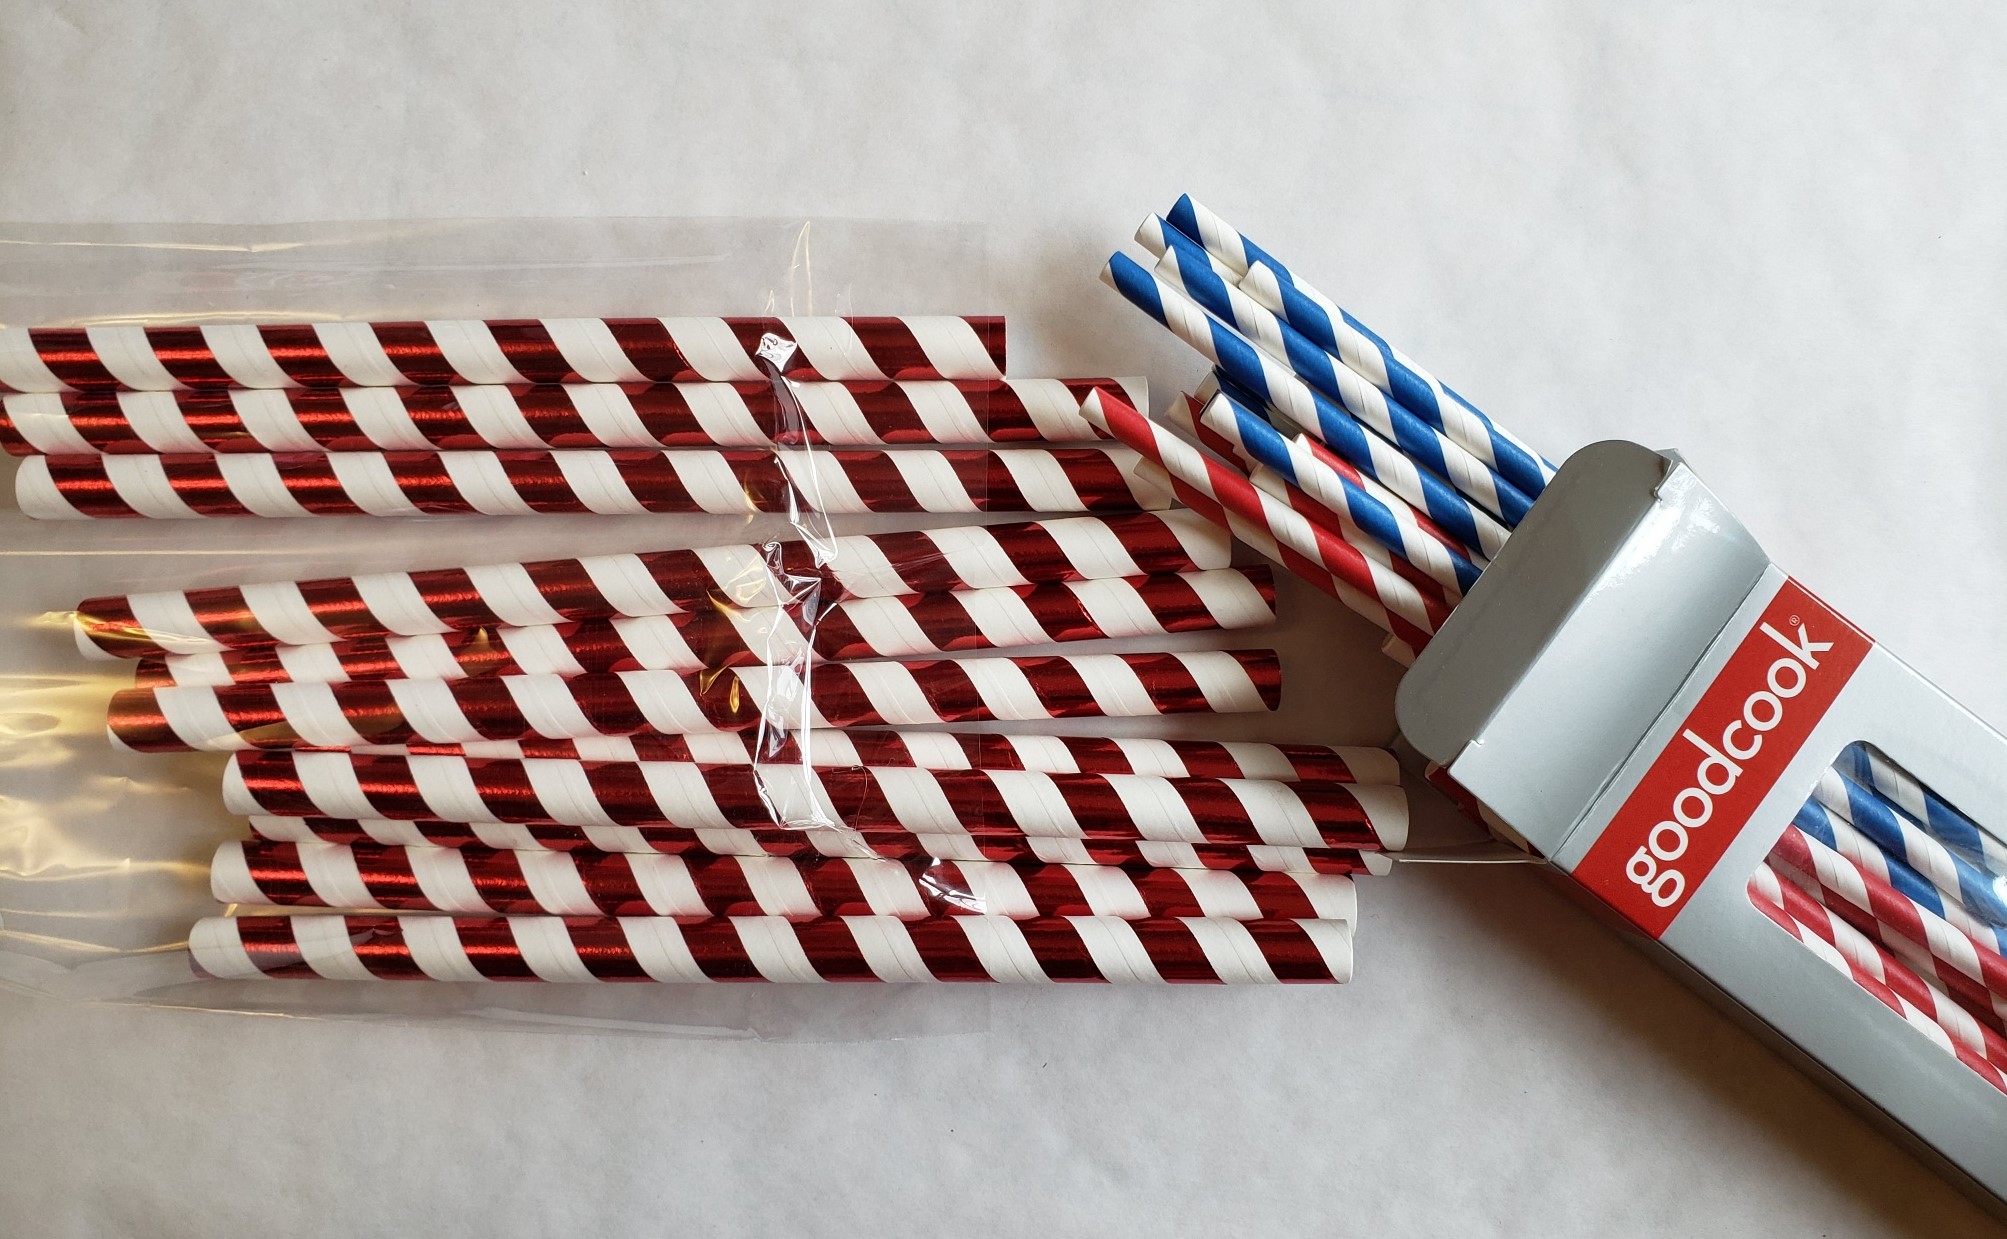
If you are making the lollipop version you will also require a straw for the stick.  These came from the $ store.  You could also use a small piece of dowel, approximately 9" long.
I dug into my Island Batik stash and chose bright colours for my candies.  I have 2, 2" strips of yellow, green, and cream.
Using 1 strip of each colour, fold in half lengthwise and layer the fabrics one on top of the other; stitch them together on one short end. (We will add the second strip to the length later.)
To hold the end steady for braiding, put a safety pin through the end and clip it to your great-grandmother's treadle sewing machine. (You can see the braided mat I am still making on the floor.) Firmly braid your strips together.
When you get to the end of  your strips, place your clip or clothespin on the braid to hold it together. Add the second strip in a diagonal seam, as you would for joining binding.  Finger press the seam open. Remove the clip, and continue braiding as before. (The reason you don't join the strips together at the beginning is because it makes it slow and awkward, as the ends get all tangled together as you braid.  Using one strip of each colour at a time and joining as needed is actually quicker in the long run.)  
When all the fabric is braided, simply straight stich across the end. Your braid will measure around 64" long.
Now the fun starts! You want to coil your braids into a circle with the edges butted against each other - not overlapping.  To do this, turn the end of the strip so it forms a "U" and zigzag the edges together.   I set my machine to the widest possible zigzag (5.5 mm), and about 2.5 mm long. Keep turning and stitching your braid into a circle, making sure that the braid is added to the right of the needle.  This way, it grows to the left side leaving you room to stitch.
When you run out of braid, simply tuck the end underneath and stitch off the end, locking your stitches.
It will look like this:
Depending on how tightly you have braided your strips, your mug rug will be around 6-1/2" across.
Place the mug rug in the middle of the cellophane and wrap the 16" sides to the middle, securing with a small piece of tape.  You should have about 6" of cellophane extending past each end.  Gather the ends close to your mug rug and tie with a bow.
Ta Da!
The cellophane is removed before use.
To make the lollipops, secure the straw  to the back with a piece of tape, Wrap in cellophane, and add a bow.
This is cute used instead of a bow to jazz up a parcel or gift bag.
And there you have it - simple as that!
You can keep going with your braiding, making matching trivets, or placemats.  Or even a mat :)
I hope you have enjoyed this, and will share pictures of what you make. 

Monday, 9 November 2020

Lest We Forget

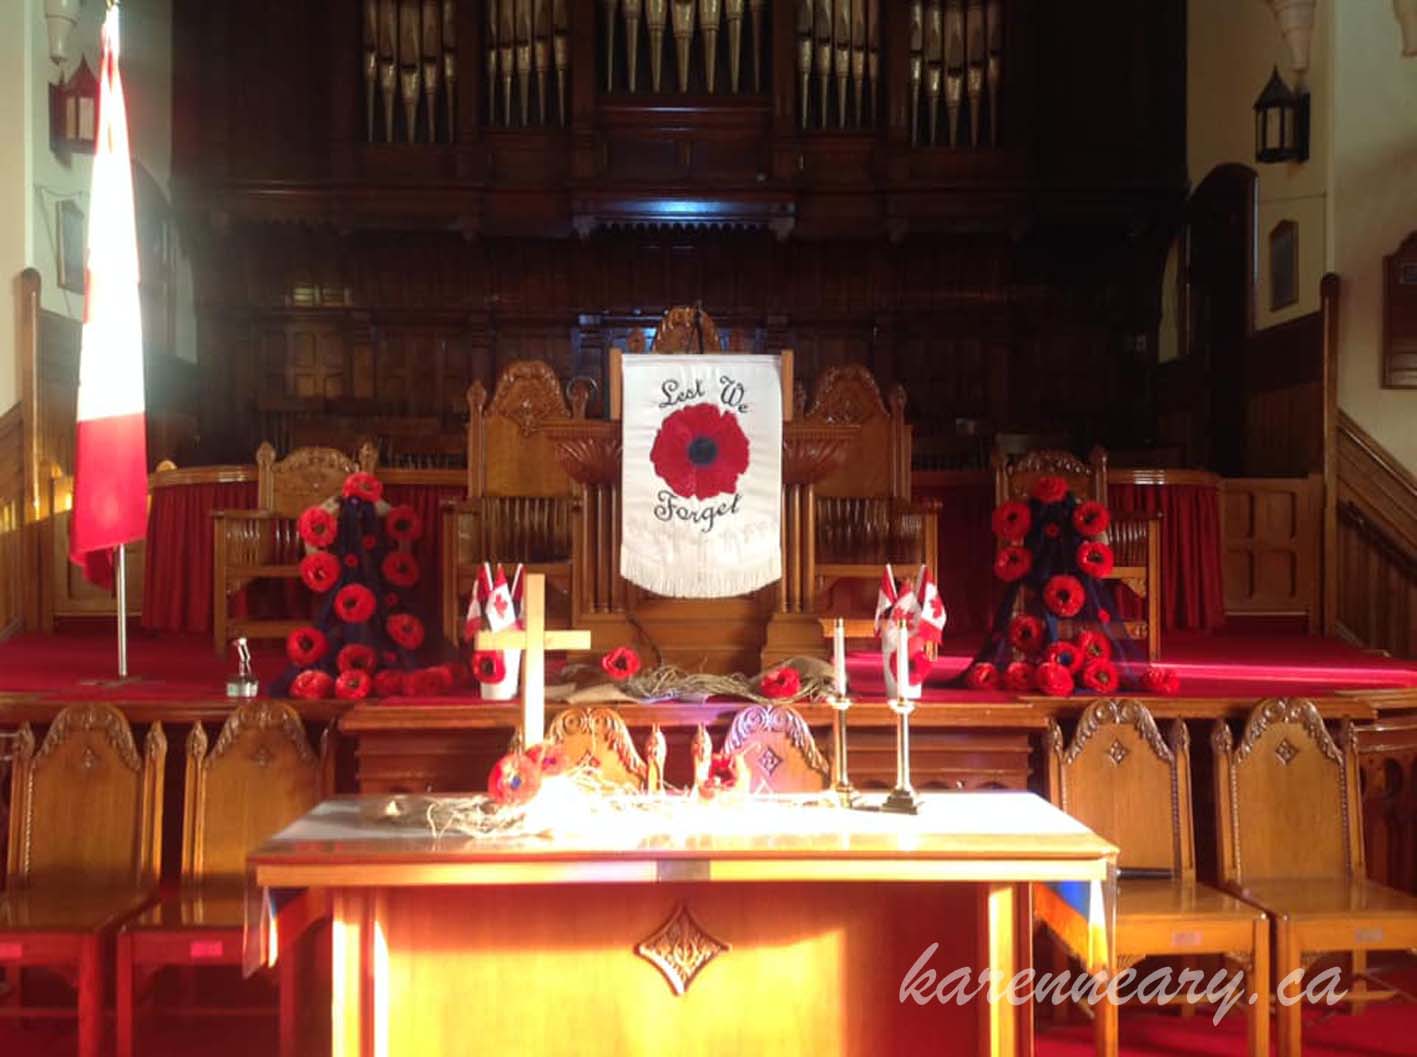
Last December, I was asked to make a Remembrance Day parament for First Baptist Church in Amherst. This beautiful church is located downtown right next to the cenotaph and hosts the indoor part of the Remembrance Day service each year, right after the wreath laying.

I accepted the commission without hesitation as, having done hangings for this church previously, I felt comfortable with the task, plus I had almost a whole year in which to work.  I started work on the project right after the new year began to ensure it would be done in lots of time.  Ha!

The pulpit is not very large; the banner needs to be precisely 20-1/4" wide to fit between the posts.  The length can vary a bit, with a maximum of 28".  It's a really big church, with a beautiful horseshoe balcony on the upper level, so for a piece this small to be seen from the back of the church it needs to be simple in design with the various elements presented in high contrasting colours so they stand out. The centrepiece of the design is a big, red poppy and since that conveys the message of the day clearly, that's really all that needs to be seen. My palette for the occasion was red and white, with maybe a bit of green, or blue, for detail.  I began with a pure white bridal satin for the background and several shades of dupioni silk for the poppy and letters. The poppy is a simple shape, no leaves or pods, just what you see on a veteran's lapel.
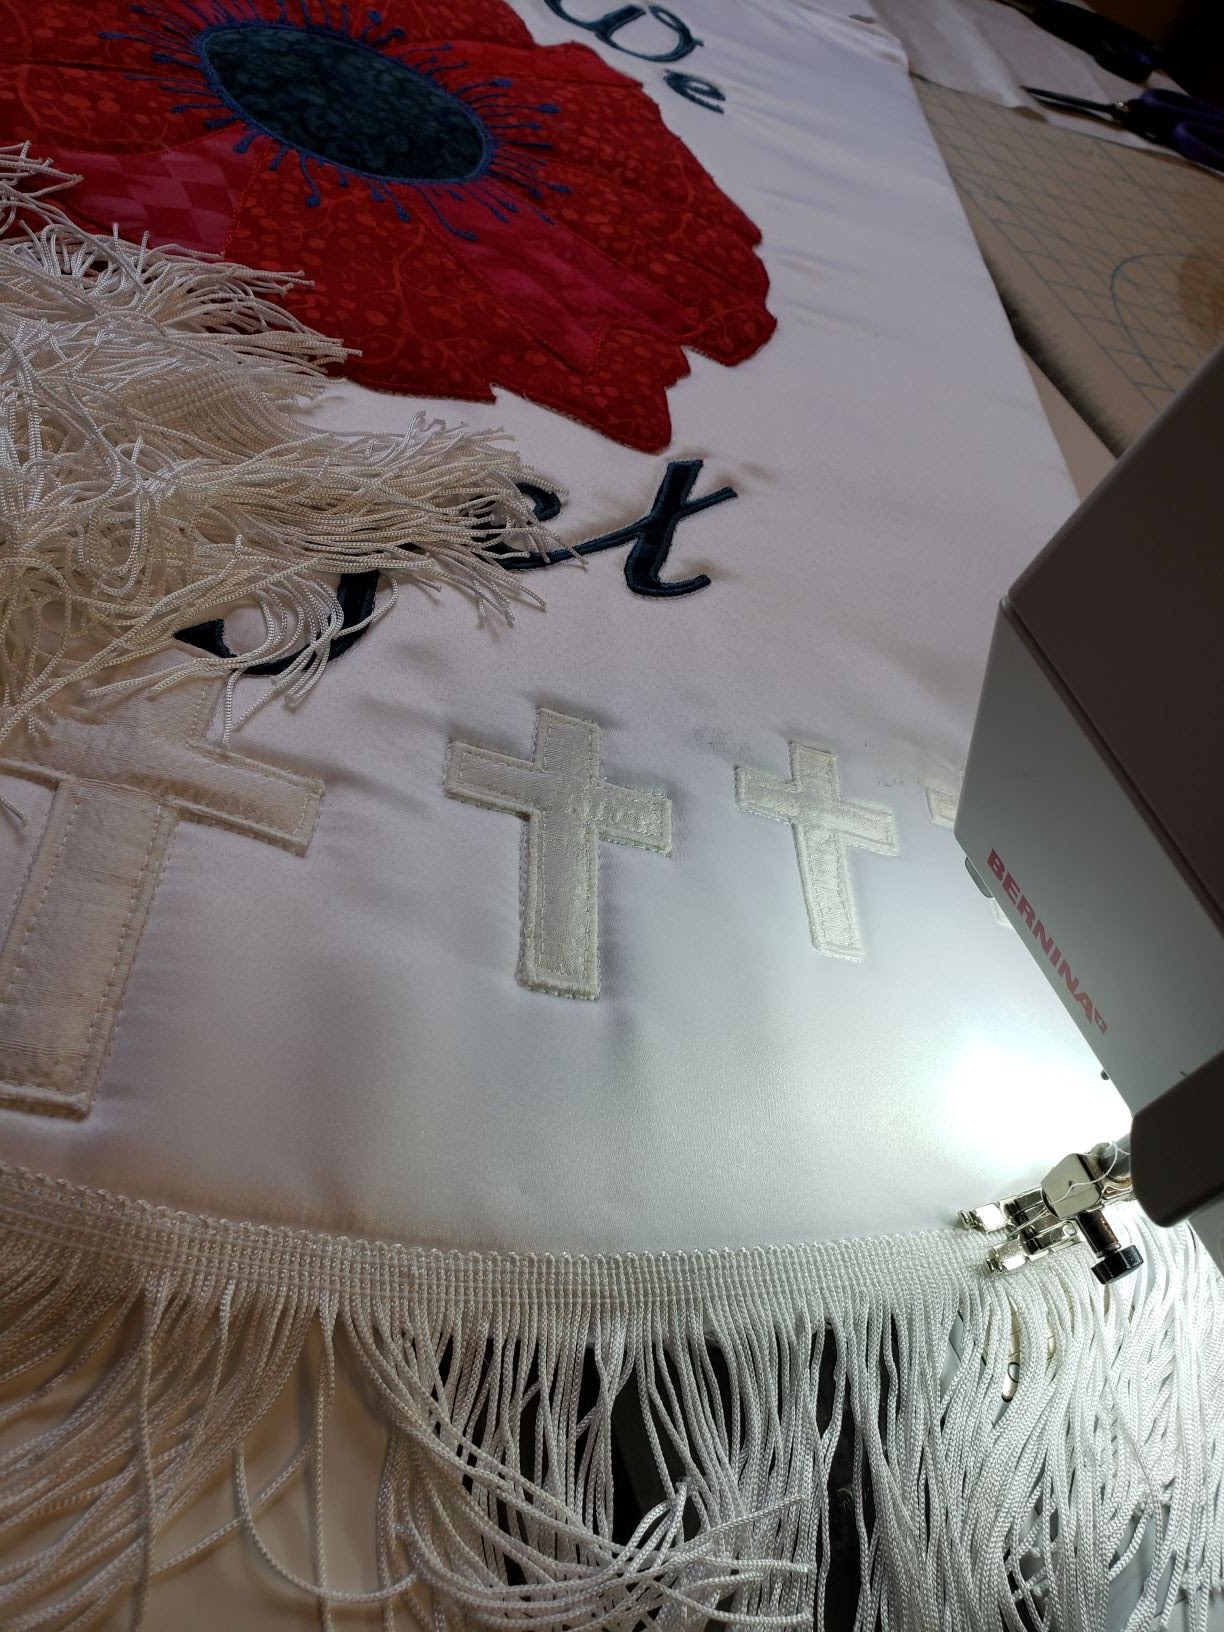
 After cutting all the letters and making the poppy from silk, it was totally lacking punch as I couldn't get enough different shades of red...so I switched to my stash of vibrant Island Batik cottons to use for the applique. I stitched the poppy seeds free hand on my Bernina using Aurifil 12 weight thread.  Notice that the centre of the poppy is a dark steel blue, as is the thread. This is because black is not displayed in a church on any day other than Good Friday. 
My idea for the bottom of the banner was to feature crosses lined up like we see in pictures from Normandy.
I began appliqueing multiple, tiny crosses but ran into difficulties with the satin puckering - even with a size 9 needle and multiple layers of stabilizers underneath.  Once you stitch on satin, you cannot remove it without leaving a hole, so...start over: new poppy, new letters, new satin.  This time my plan was to quilt the crosses in, but that was not a feasible idea since I was unable to mark lines on the satin.  I tried stitching them through tissue paper, but the results looked messy...and I accidentally picked the fabric with a needle.
My next great idea was to add the crosses with patchwork, and it did work fine except...the squares were 1/2" wide which meant a lot of seams to try and applique a poppy and letters over...plus satin does not hold a press well. It was lumpy.  I threw this out without taking pictures so have none to share, but this is the chart used.
By now, we are up to March. The next incarnation used plain white cotton for the background - easy to piece, applique, quilt, etc. I used a thin silk batting under the top. This one turned out great, and I even quilted maple leaves in the background.  Except...I didn't like how the cotton looked.  It was so dull and "unspecial" after that beautiful satin background.  I set it aside to convince myself that plain old cotton was totally appropriate to honour our soldiers. 
I dug this out again in September, when the church reopened after the Covid lockdown, and was horrified with how it looked.  There was no way that was going to hang in a church.  Now out of satin, I luckily found a place in Montreal which shipped quickly, so I started from scratch again.  More puckers.  Another order to Montreal for satin...
THIS TIME, I satin stitched the edges of the poppy on water soluble stabilizer instead of on the satin, soaked the edges to remove, and then straight stitched it onto the satin.  It worked great, so the letters were done the same way, as were the crosses cut in descending size from white dupioni silk.  FINALLY!
White fringe was added to the bottom.
I was very happy when the final stitches went in that hanging sleeve to finish up what should have been a simple project.
I took it outside to get some pictures.  You will notice that the crosses do not show up very well, and that was intentional.  They are meant to ghost up along the edge of the banner.  There is just enough difference in texture and shade between the white silk and the white satin to make this work. You won't see those crosses from the back of the church, but you don't need to.
This is taken in front of our bright red burning bush.
It has this much stitching - poppy, letters, and crosses are outlined and that's it! I was not chancing picking the fabric at this late date.  The filler is Bosal InRForm. 
I delivered it to the church right before Thanksgiving (you can see all the pumpkins!), and held my breath as I hung it in place.  It finished exactly 20-1/4" wide and fit perfectly. Whew!
Since our Remembrance Day service is cancelled this year due to the pandemic, the parament was dedicated yesterday in a lovely service at First Baptist Church.
It will be used to honour the veterans in future years when our world returns to normal. 
I will remember.

Monday, 2 November 2020

Post-Hallowe'en

We expected a very quiet Hallowe'en here, so were pleasantly surprised to have 20 well-costumed Trick-Or-Treaters at our door. Everyone was Covid-masked (including us). Polly does not like when the doorbell rings so often, so she ran and hid for the evening.  We went to our summer home on Sunday to make sure all was well there, and it was (thankfully) just as we left it: cosy and inviting.

I took along the braided mat to try on the floor of the bedroom where it is meant to go.  Spread on my machine bed here it looked huge, but it clearly needs to be at least 6" bigger all around.  More braiding!  You can see the ends of the strips on the left side of the mat;  I didn't snip anything just in case.

This morning I have been going through old blog posts to update links which no longer work, and came across this one from 2015 which contains several Christmas ideas.  
My room tidying is not yet complete, but in another day or so I hope to be starting some new projects.  Christmas really is not that far away and although we may avoid gathering due to the pandemic, there will still be gifts.  Have you started on the making of yours yet?

Sunday, 25 October 2020

Holiday Shopping??

 I am happy to say that the commissioned banner has been delivered to its forever home, (pictures to follow) so new projects can now be begun.

With that off my plate, the first task was to clean up my sewing room, a dreaded ordeal which has not been attended to in some months.  While purging, I listened to music and newscasts, one of which was a news release from Canada Post, urging folks to start their Christmas shopping - and shipping - early, as it is anticipated most folks will be ordering online this Covid season.  The only thing worse than a Covid Christmas would be one without anything under the tree, so it is good advice I am taking to heart.
Our Aurifil thread shop is currently well stocked and the prices will never be better than they are now.  We've received word from the supplier that there will be an increase with the next order...and frankly, I fully expect postage to increase soon as well.  Currently, shop policy is a flat shipping rate of $13. anywhere in Canada for a thread order.  Actual postage cost is always more than that, but I pay the remainder.  It's a great deal!
We have all kinds of gift sets in stock, ranging from small to large, basics to designer colours, and all weights from 80 to 12.  Mostly the thread is all cotton, but we also have clear and smoke monofilament, and a bit of wool.


You can see all the in-stock threads here, and order directly from the website.  If you are local to Amherst, Nova Scotia, and would like to pick up your order, there is an option for that as well.  If you prefer to use etransfer, kindly email your order to me, and I will send along an invoice. 
Back to tidying.  I know as soon as that's done, I will pull all the boxes out again to start a new project.  The circle of life for a quilter. :)

Monday, 19 October 2020

Change of Scenery, Change of Seasons

Last weekend we had a beautiful drive through Nova Scotia's Wentworth Valley.  The colours were spectacular, as they always are at this time of year.
Yesterday we enjoyed more of the same on our dirt road travels over Lynn Mountain.
Known for blueberry production, the red fields on Lynn stretch in every direction as far as the eye can see.  We took a short drive down this side road to the quarry. Although we traditionally associate yellows, golds, and browns with our fall/Thanksgiving palette,  clearly red is part of the mix as well.
I have been sewing red for another seasonal project as well.  I actually began this commissioned piece last January hoping to have it finished well before the deadline, but that hasn't happened.
Fingers crossed, it will all come together by week's end, and delivered to its new home on time.

Friday, 16 October 2020

Catch up

It does seem ages since I have blogged on a regular basis.  It isn't because there is nothing to share, it's just finding and taking the time to do so. I do miss blogging and, as I was reminded recently (Cheryl), it's a great way to archive and keep notes on past projects.

What has kept us so busy?  Well, although many this past year seemed to have extra time on their hands, my family and I had less. Way less.  Last fall, we purchased an older home (with a barn!) in the seaside community where I grew up. It will function as a weekend/summer home only.

The house needed (needs) a bit of TLC, which we have been providing these past few months...to the best of our abilities. My contribution has mostly been painting, both outside and in, although Mother Nature will soon put an end to the outside work.  I am determined to restore the corbels which adorn the front of the house to their original dark green glory  That may have to wait until spring now. We have been running back and forth between here and there, while also juggling thread and pattern sales and a quilt commission. The commission deadline is almost here and with luck, the piece will be finished on time. Very soon, life will slow down again as our winter months approach and I do hope to spend more time here on the blog, and in my sewing room.  Even though the house has demanded a lot of our time and we frequently wondered why we bought it... it is quite growing in our hearts, and we are enjoying being there more and more each time we go. It is cosy and charming (and did I mention it has a barn?!?) The best part is that it is two doors away from my sister. :)

Old houses, of course, need quilts...and we certainly have lots of those.  It has been fun to choose which ones to go on the beds (as we acquire beds).  Polly and I have started braiding a mat from our cotton scraps for the downstairs bedroom, with big plans of doing a long runner for the wide boards of the wood floor in the upstairs hall over the winter.  

There have not been many moments to devote to this mat so far, but gosh it has been awesome fun to see it grow, and I have loved every second braiding the strips.  It may be my new thing :) Polly adores laying on it each time we add a braid to two to the outside edge.  She will be kept very busy all winter trying out the new strips on the hall runner!

As many in our area will agree, it has been a rather hollow feeling week here in Amherst with the cancellation of our Nova Scotia Fibre Arts Festival.  Normally I begin loading up the dining room with workshop boxes as soon as our Thanksgiving dinner is cleared from the table.  Not so this year.
Soon, I will share the piece I am working on (It really isn't fair to show it off before it is delivered).  I expect by then the snow will be falling, and life will return to a more relaxed pace.  I look forward to sharing lots of quilts here again soon.  Thanks for reading, and for keeping me on your blog list.