Sew Karen-ly Created...

If you have arrived here via a link (such as to a tutorial) click on "Sew Karen-ly Created" to return to the latest blog post. I invite you to my website to see a gallery of quilts and patterns available for purchase.
Comments are always appreciated, simply click the word "comments" at the end of each post to leave your message. Thanks for stopping by!
Showing posts with label Braided mat. Show all posts

Friday, 13 November 2020

Christmas Candy Mug Rugs

Christmas gifting is as much about the present-ation as it is the present, and with this quick and easy scrap-busting project, you get both.  Who doesn't need a mug rug, especially when they come as sweetly packaged as these?! You can turn your mug rugs into lollipops...

...or candy treats!
As quilters, we have lots of cotton scrap fabrics lying around, and these only take 4" x WOF each of 3 different colours. Cotton strips are easy to braid, and may be joined by either the machine or by hand.  Naturally, I do mine by machine. 
The instructions below are for one coaster approximately 6-1/2" across. You need:
  • 2 strips each of 3 colours, each 2" x WOF (a total of 6, 2" strips.) A light,  medium, and a dark work well. (If you don't have WOF strips, just seam together enough shorter pieces to measure around 42".  The joins don't show in the finished project.)
  • neutral 50 weight sewing thread (Aurifil of course!) 2600 Dove Grey is perfect.
  • if stitching by machine, a size 16/100 JEANS needle.
  • 1 piece of clear cellophane 16" x 18".
  • 1 large safety pin.
  • 1 small clip (a clothespin works).
  • scrap of fabric for ties (or pretty satin ribbon). 20" per tie is a good length.
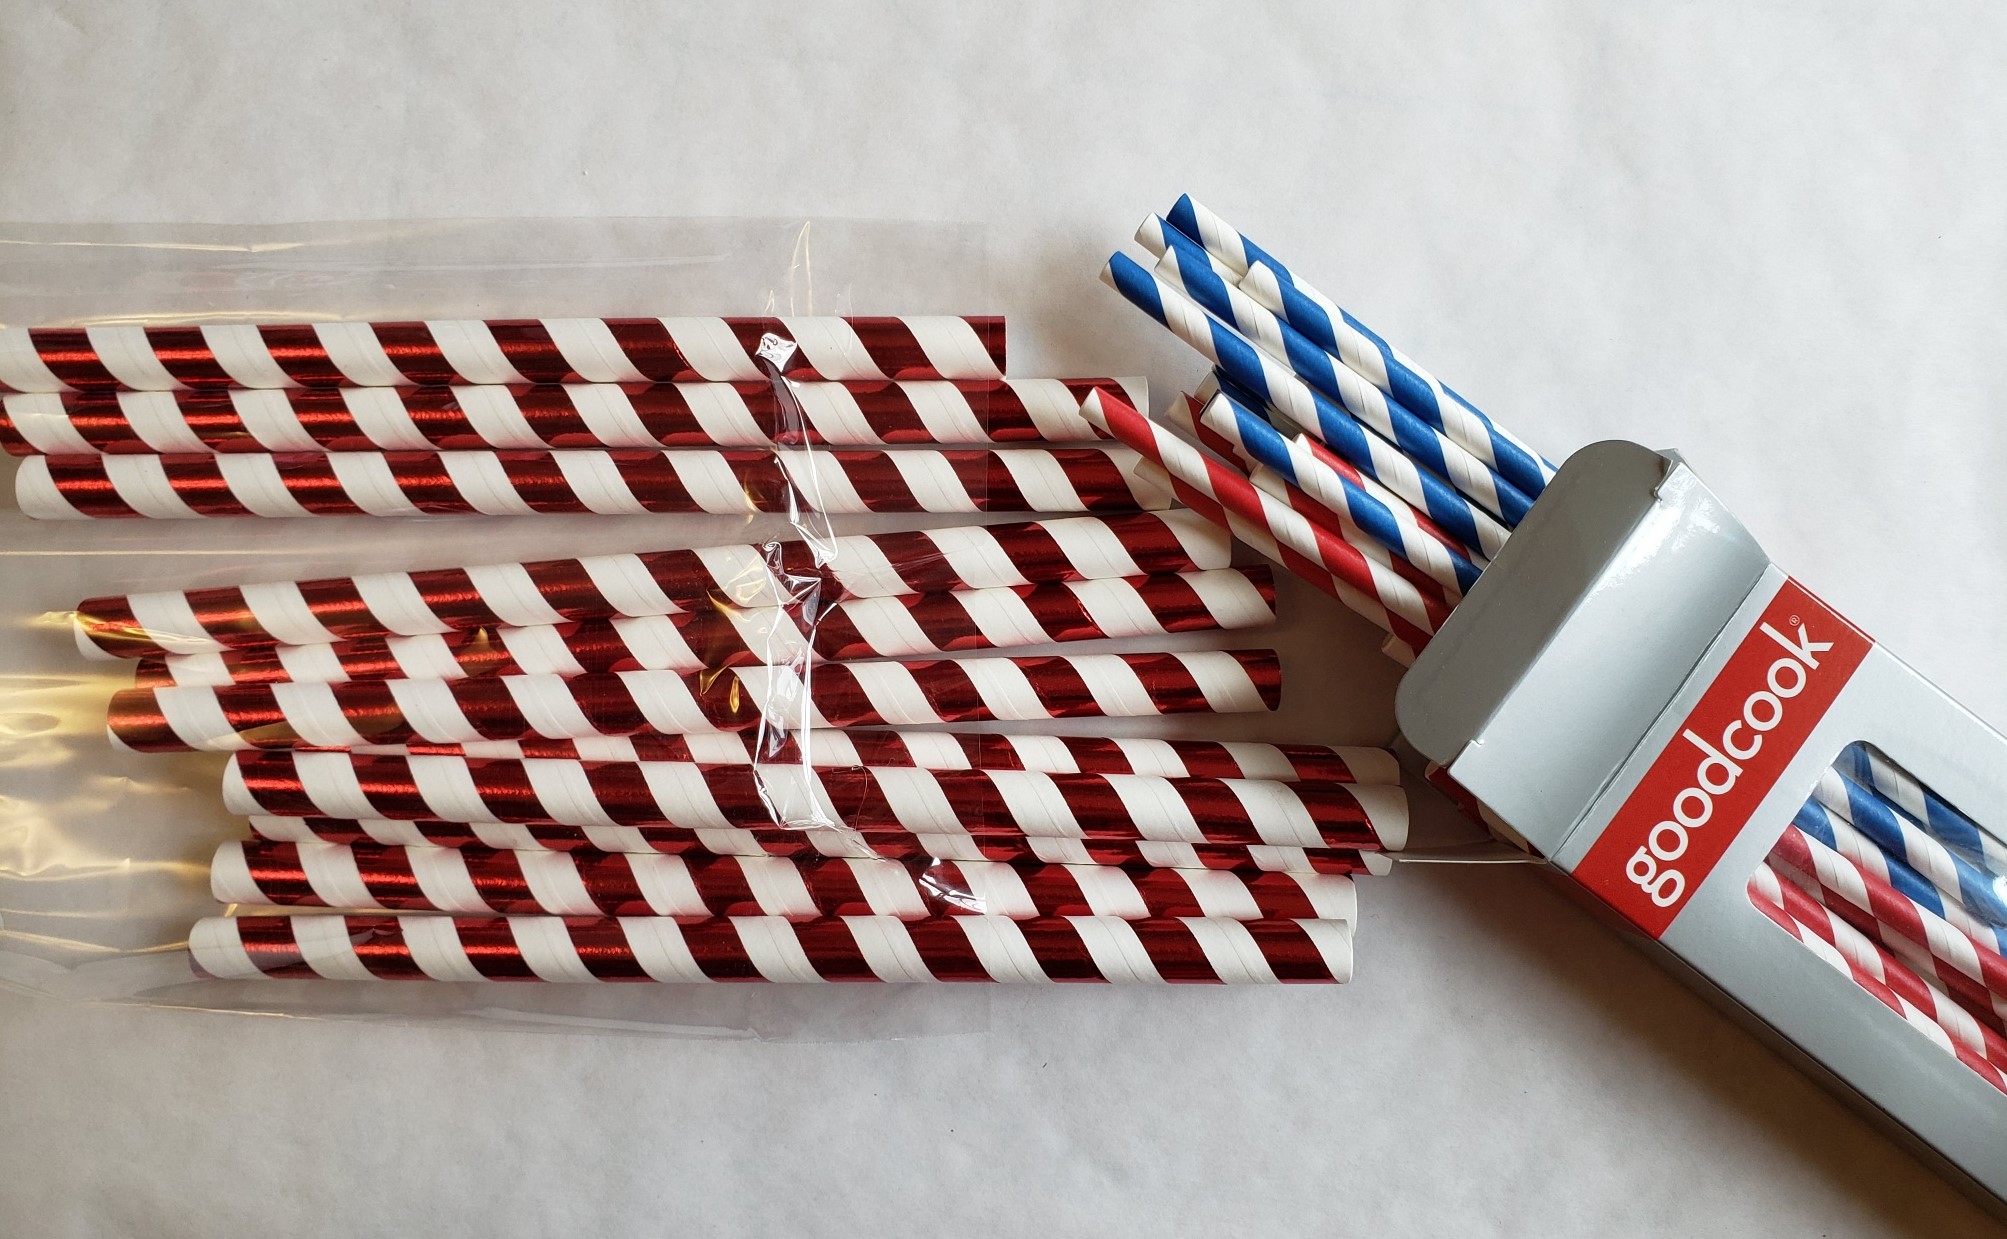
If you are making the lollipop version you will also require a straw for the stick.  These came from the $ store.  You could also use a small piece of dowel, approximately 9" long.
I dug into my Island Batik stash and chose bright colours for my candies.  I have 2, 2" strips of yellow, green, and cream.
Using 1 strip of each colour, fold in half lengthwise and layer the fabrics one on top of the other; stitch them together on one short end. (We will add the second strip to the length later.)
To hold the end steady for braiding, put a safety pin through the end and clip it to your great-grandmother's treadle sewing machine. (You can see the braided mat I am still making on the floor.) Firmly braid your strips together.
When you get to the end of  your strips, place your clip or clothespin on the braid to hold it together. Add the second strip in a diagonal seam, as you would for joining binding.  Finger press the seam open. Remove the clip, and continue braiding as before. (The reason you don't join the strips together at the beginning is because it makes it slow and awkward, as the ends get all tangled together as you braid.  Using one strip of each colour at a time and joining as needed is actually quicker in the long run.)  
When all the fabric is braided, simply straight stich across the end. Your braid will measure around 64" long.
Now the fun starts! You want to coil your braids into a circle with the edges butted against each other - not overlapping.  To do this, turn the end of the strip so it forms a "U" and zigzag the edges together.   I set my machine to the widest possible zigzag (5.5 mm), and about 2.5 mm long. Keep turning and stitching your braid into a circle, making sure that the braid is added to the right of the needle.  This way, it grows to the left side leaving you room to stitch.
When you run out of braid, simply tuck the end underneath and stitch off the end, locking your stitches.
It will look like this:
Depending on how tightly you have braided your strips, your mug rug will be around 6-1/2" across.
Place the mug rug in the middle of the cellophane and wrap the 16" sides to the middle, securing with a small piece of tape.  You should have about 6" of cellophane extending past each end.  Gather the ends close to your mug rug and tie with a bow.
Ta Da!
The cellophane is removed before use.
To make the lollipops, secure the straw  to the back with a piece of tape, Wrap in cellophane, and add a bow.
This is cute used instead of a bow to jazz up a parcel or gift bag.
And there you have it - simple as that!
You can keep going with your braiding, making matching trivets, or placemats.  Or even a mat :)
I hope you have enjoyed this, and will share pictures of what you make. 

Friday, 16 October 2020

Catch up

It does seem ages since I have blogged on a regular basis.  It isn't because there is nothing to share, it's just finding and taking the time to do so. I do miss blogging and, as I was reminded recently (Cheryl), it's a great way to archive and keep notes on past projects.

What has kept us so busy?  Well, although many this past year seemed to have extra time on their hands, my family and I had less. Way less.  Last fall, we purchased an older home (with a barn!) in the seaside community where I grew up. It will function as a weekend/summer home only.

The house needed (needs) a bit of TLC, which we have been providing these past few months...to the best of our abilities. My contribution has mostly been painting, both outside and in, although Mother Nature will soon put an end to the outside work.  I am determined to restore the corbels which adorn the front of the house to their original dark green glory  That may have to wait until spring now. We have been running back and forth between here and there, while also juggling thread and pattern sales and a quilt commission. The commission deadline is almost here and with luck, the piece will be finished on time. Very soon, life will slow down again as our winter months approach and I do hope to spend more time here on the blog, and in my sewing room.  Even though the house has demanded a lot of our time and we frequently wondered why we bought it... it is quite growing in our hearts, and we are enjoying being there more and more each time we go. It is cosy and charming (and did I mention it has a barn?!?) The best part is that it is two doors away from my sister. :)

Old houses, of course, need quilts...and we certainly have lots of those.  It has been fun to choose which ones to go on the beds (as we acquire beds).  Polly and I have started braiding a mat from our cotton scraps for the downstairs bedroom, with big plans of doing a long runner for the wide boards of the wood floor in the upstairs hall over the winter.  

There have not been many moments to devote to this mat so far, but gosh it has been awesome fun to see it grow, and I have loved every second braiding the strips.  It may be my new thing :) Polly adores laying on it each time we add a braid to two to the outside edge.  She will be kept very busy all winter trying out the new strips on the hall runner!

As many in our area will agree, it has been a rather hollow feeling week here in Amherst with the cancellation of our Nova Scotia Fibre Arts Festival.  Normally I begin loading up the dining room with workshop boxes as soon as our Thanksgiving dinner is cleared from the table.  Not so this year.
Soon, I will share the piece I am working on (It really isn't fair to show it off before it is delivered).  I expect by then the snow will be falling, and life will return to a more relaxed pace.  I look forward to sharing lots of quilts here again soon.  Thanks for reading, and for keeping me on your blog list.