We've been waiting patiently to join the Mirror Ball Dot Blog Hop, and now it's our turn! (and by "we", of course I mean Polly and I). When
Mark invited us to participate in this adventure, it sounded like a lot of fun...and it has been. For me this was an opportunity to play with fabric, no strings attached. I wrote a bit about the hop and showed my palette on
a previous post:
I need to begin with a confession...I didn't exactly stick to the rules and use just the colours sent; I couldn't resist dipping into all those luscious shades in my stash. As I poured through the fabric, I pondered what I wanted the fabric to say. I thought about the name of the line, and wondered if anyone had ever done the obvious: a disco ball. A Google search did not turn up any results so away we went on our first project...
Circle Circle Dot Dot
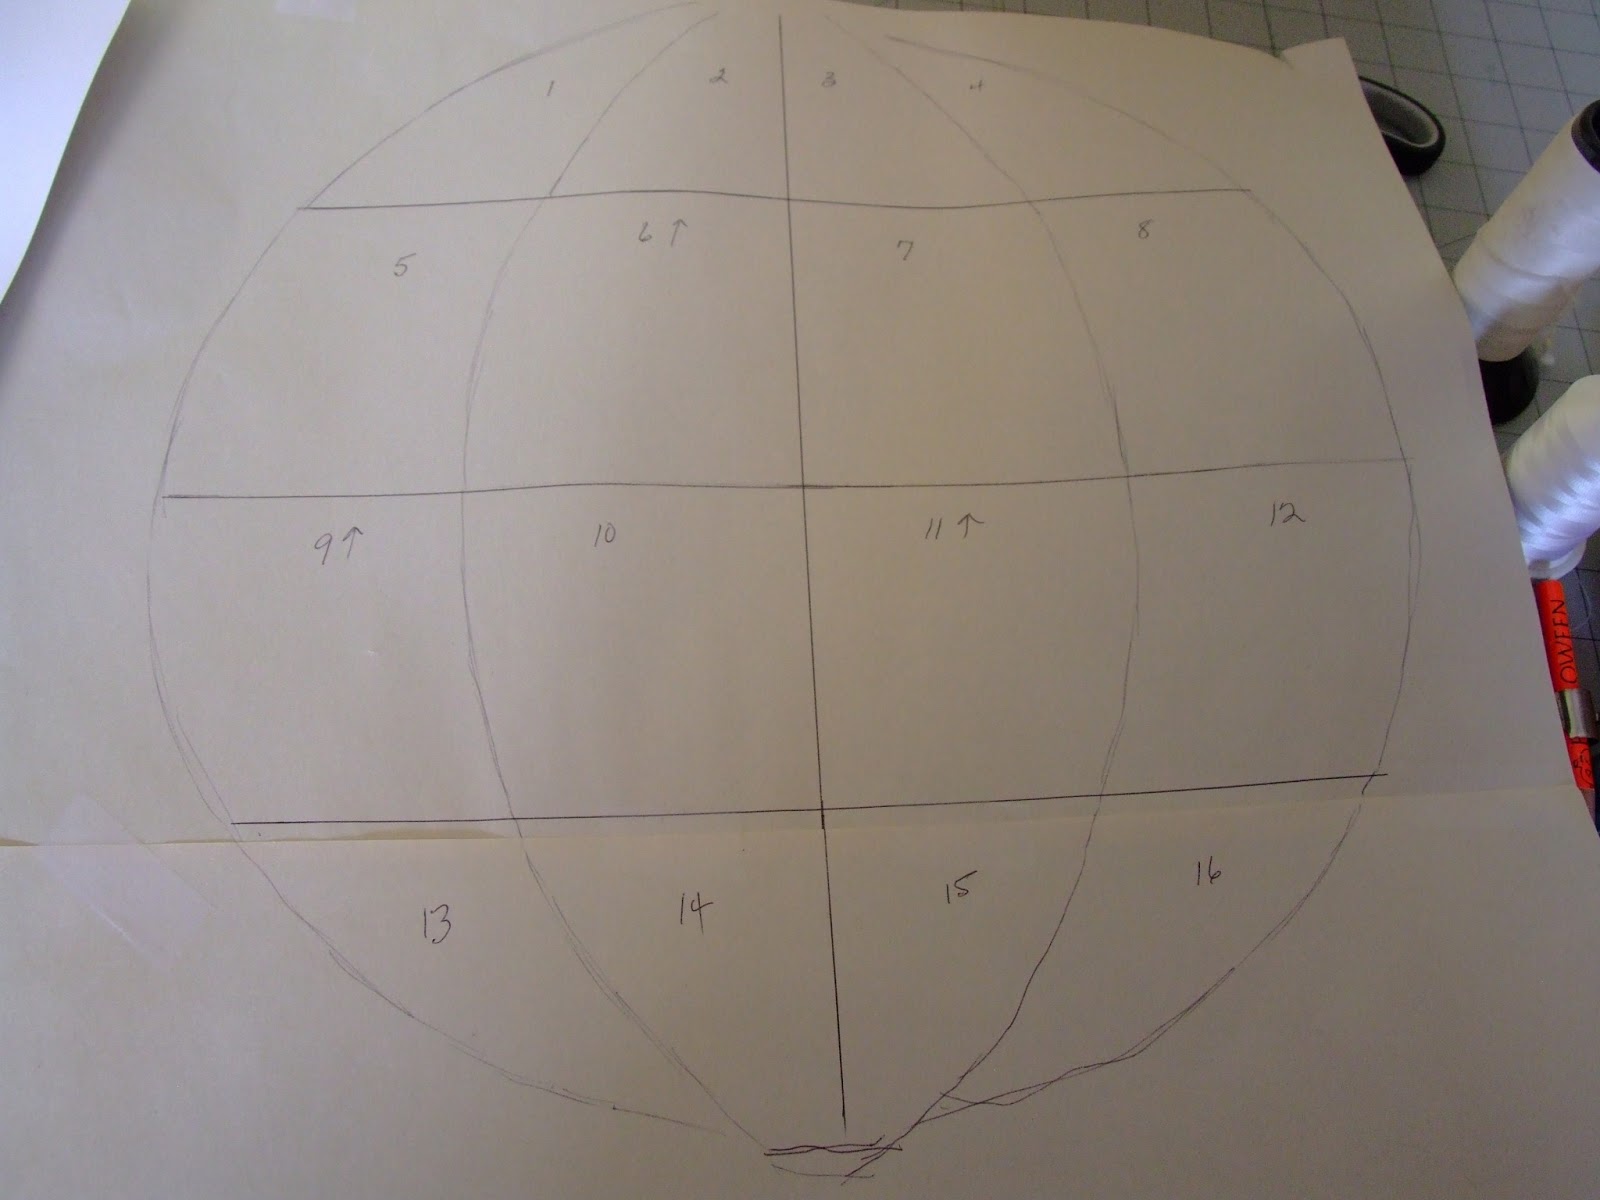
I decided to make a sphere. I've never made one before. I spent a lot of time figuring how to draw the lines and as always, it's simplify, simplify, simplify. After a couple of false starts, it finally boiled down to 4 shapes, repeated and reversed. By the time I had figured this out of course, I had used most of my onyx MBD, which means this rough copy is also my finished piece.
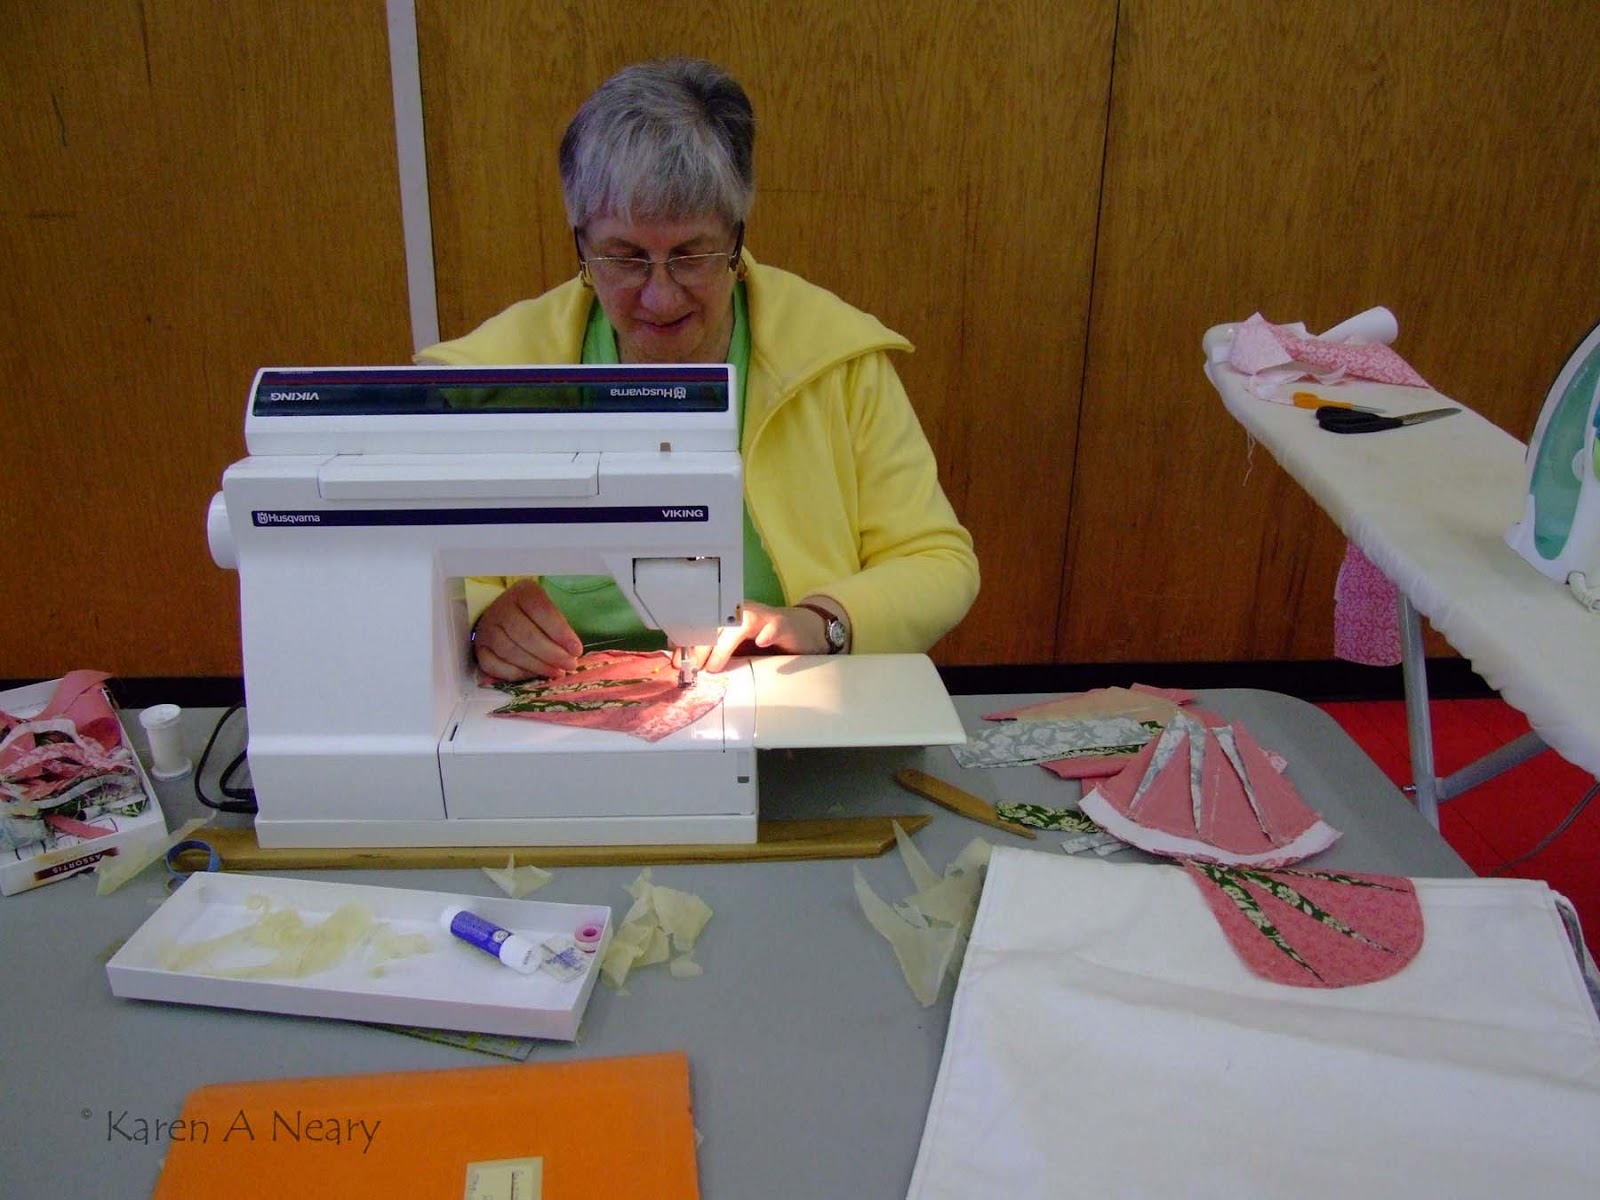
I backed the fabric pieces with Wonder-Under, and fused them in place.
In a do-over world, I would have redone some of the colour placements and smoothed out the stitching lines of the meridians a bit better. But you get the idea; it was fun and I will definitely make another.
Adding a second layer of wool batting to pop out the centre of the sphere gave birth to another idea: I should make something 3-D: an actual Mirror Ball! I started by tracing a 4" circle onto cardboard.
I divided the circle into 6 equal parts and drew lines to connect three of them to make an equilateral triangle.
I cut this out with scissors.
Heavy weight interfacing was fused to the back of the fabric and I traced 20, 4" circles using that red can cover shown above.
I pressed the fabric over the triangle template to make a crease to follow when sewing.
I laid them out in a line as shown and stitched them together along the creased line.I joined the last triangle to the first to make a loop
For the top and bottom I made a little hat of 5 more sections and stitched them in place.
A length of sequined trim to catch the light and give a little sparkle was added for the hanging loop.
I could have stitched along the outside curves to hold them together, but I didn't; I took the easy way and added a drop of hot glue. Simple, and fun! Picture yourself on the dance floor with a little night fever.
Circle Circle Square Square
Polly felt there was one last thing to be made from our leftover pieces, so we stitched 3" squares...
...added an attic windows mitred border with the Cotton Couture...
...and quilted a simple circle in the centre of each square and a piano key border. Using wool batting makes the circles pop.
And that's what we did with our Mirror Ball Dot. Mark has scored some prizes for this blog hop. The first is for everyone, from Fairfield Processing. Use the promo code in the coupon below for 20% off your online order:
20% Off any order
promo code: MHFD13M
Expiration: 7/31/13
To win a colour card and five Fat Quarters of Mirror Ball Dot fabric in your choice of colours, simply leave a comment below. Just make sure I have an email address to contact you if your name is drawn!