
 and raw edge appliqué with no seam allowance if you wish to add a lining.

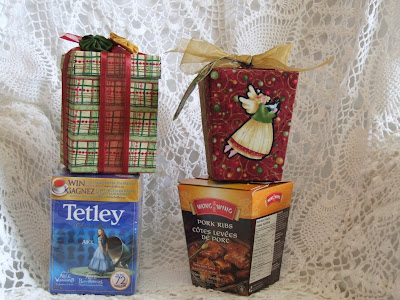
In our current trend of make-do and recycle, these really quick to make fabric gift boxes fit the bill nicely as fabric scraps left over from quilts may be used.
The first task is to assemble suitable boxes for covering. Boxes come in all shapes and sizes and with a little ingenuity most can be successfully appliquéd. My favourite ones to use are those with flaps which fold in to form the box lid, rather than those with a separate lid. Look in your cupboards (or browse Sobeys!) and you’ll see all kinds of interesting boxes.
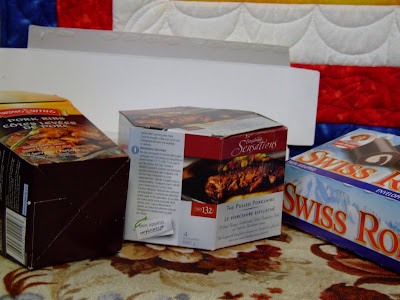 Here are Wong Wing Chinese take out, Little Debbie cookie boxes, and an octagonal one for Compliments Sensations Pulled Pork Burgers. I admit some of this food I have purchased just to get the box…My boys haven’t yet made the connection that when I have a pair of socks needing a gift box, there are Swiss Rolls in the cupboard that week.
 Perfect fit :)
 The two boxes to be covered in this tutorial are a Tetley Tea and a Wong Wing frozen entrée box. The fabric is from Nancy Halvorsen's "Tidings" collection by Benartex. It took less than an hour to complete both boxes. Basically, the cardboard boxes are opened flat and covered with fabric in the same way we work appliqué around a template. Fusible web secures the fabric to the box.
  Once you have decided on a box, additional materials required are: fabric (large enough to accommodate your box, plus seam allowance), fusible web (the same size as your fabric), a hot iron (preferably with steam capabilities) and double sided tape or a hot-melt glue gun. I chose Steam A Seam 2 fusible web for this project as it is a bit thicker than some others.
 For those who attended my machine appliqué workshops during the Fibre Arts Festival earlier this month, the wooden applicator tool from your kit comes in very handy for turning the edges.
 Open up the box by gently coaxing the flaps apart and trace around the edges on the paper side of your fusible web.
  Roughly cut the fusible web approximately 1/2" past your traced lines and fuse it to your fabric. Cut your fused fabric approximately 1/4” past drawn lines. Clip into curves exactly as you would if you were doing turned edge appliqué. Removing backing from fusible web as you go, lay printed side (outside) of box on top of sticky side of fabric. Pat down, and turn edges under just as in appliqué using that nifty wooden tool. When it’s all smooth, flip the box over and steam press the fabric in place.
 For the lining, remember that it needs to be traced in reverse – so flip the box over when tracing the lining on the fusible web. Cut shape out roughly - as above - and fuse to back of lining fabric. Cut approximately 1/8” inside your traced line. Lay lining in place to test for fit. Trim as needed to ensure it does not show on the outside of the box, remove paper backing and fuse in place.
  To reassemble your box, press along original scored lines on cardboard. Fold back into shape. Secure using either double sided clear tape or hot melt glue between the flaps.
  If desired, before reassembling you may add appliqués to decorate your box. Apply fusible web to back of motif fabric, and cut out desired motifs. Open box out flat and fuse appliqués in place on box sides. Reassemble box as above.
 Yo-Yo's make a great decoration for your boxes also.
 Simply trace a circle on your fabric, cut out, turn under 1/4" and hand stitch the hem using a long basting stitch. Pull up the threads and knot the thread to hold your circle. I traced around the outside of a roll of masking tape to create these large yo-yo's, which measure 1-1/2" across when finished.
 And that's all there is to it! It's up to you to decide if these are boxes for holding gifts, or if the boxes ARE the gifts (much like James Thurber's Container For The Thing Contained conundrum *-). Either way, it's a quick and easy way to create a "quilty" Christmas gift.
 If you have enjoyed this tutorial, kindly leave a comment at the bottom of this post. We'd love to see pictures of any you make, just email them and they will be shared on this blog.
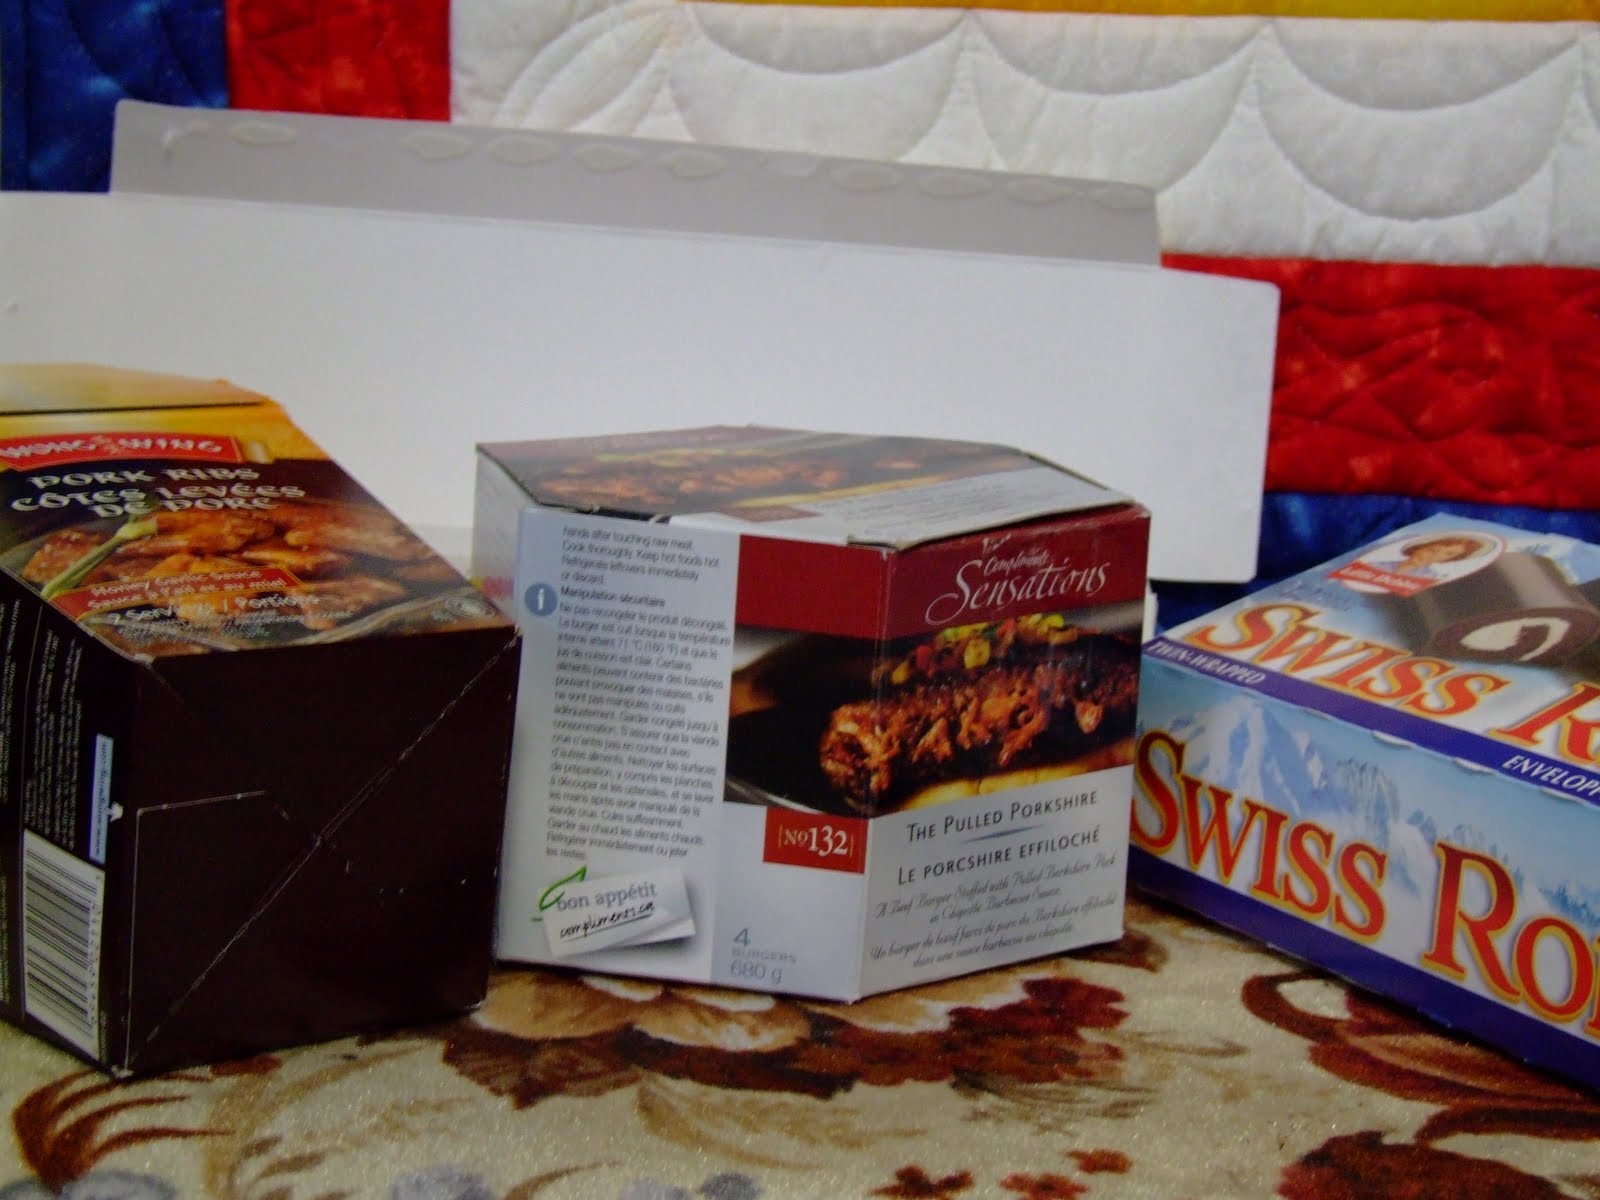 Here are Wong Wing Chinese take out, Little Debbie cookie boxes, and an octagonal one for Compliments Sensations Pulled Pork Burgers. I admit some of this food I have purchased just to get the box…My boys haven’t yet made the connection that when I have a pair of socks needing a gift box, there are Swiss Rolls in the cupboard that week.
Perfect fit :)
Here are Wong Wing Chinese take out, Little Debbie cookie boxes, and an octagonal one for Compliments Sensations Pulled Pork Burgers. I admit some of this food I have purchased just to get the box…My boys haven’t yet made the connection that when I have a pair of socks needing a gift box, there are Swiss Rolls in the cupboard that week.
Perfect fit :)
 The two boxes to be covered in this tutorial are a Tetley Tea and a Wong Wing frozen entrée box. The fabric is from Nancy Halvorsen's "Tidings" collection by Benartex. It took less than an hour to complete both boxes. Basically, the cardboard boxes are opened flat and covered with fabric in the same way we work appliqué around a template. Fusible web secures the fabric to the box.
  For those who attended my machine appliqué workshops during the Fibre Arts Festival earlier this month, the wooden applicator tool from your kit comes in very handy for turning the edges.
 Open up the box by gently coaxing the flaps apart and trace around the edges on the paper side of your fusible web.
  Roughly cut the fusible web approximately 1/2" past your traced lines and fuse it to your fabric. Cut your fused fabric approximately 1/4” past drawn lines. Clip into curves exactly as you would if you were doing turned edge appliqué. Removing backing from fusible web as you go, lay printed side (outside) of box on top of sticky side of fabric. Pat down, and turn edges under just as in appliqué using that nifty wooden tool. When it’s all smooth, flip the box over and steam press the fabric in place.
 For the lining, remember that it needs to be traced in reverse – so flip the box over when tracing the lining on the fusible web. Cut shape out roughly - as above - and fuse to back of lining fabric. Cut approximately 1/8” inside your traced line. Lay lining in place to test for fit. Trim as needed to ensure it does not show on the outside of the box, remove paper backing and fuse in place.
  To reassemble your box, press along original scored lines on cardboard. Fold back into shape. Secure using either double sided clear tape or hot melt glue between the flaps.
  If desired, before reassembling you may add appliqués to decorate your box. Apply fusible web to back of motif fabric, and cut out desired motifs. Open box out flat and fuse appliqués in place on box sides. Reassemble box as above.Yo-Yo's make a great decoration for your boxes also.
 Simply trace a circle on your fabric, cut out, turn under 1/4" and hand stitch the hem using a long basting stitch. Pull up the threads and knot the thread to hold your circle. I traced around the outside of a roll of masking tape to create these large yo-yo's, which measure 1-1/2" across when finished.
 And that's all there is to it! It's up to you to decide if these are boxes for holding gifts, or if the boxes ARE the gifts (much like James Thurber's Container For The Thing Contained conundrum *-). Either way, it's a quick and easy way to create a "quilty" Christmas gift.
 If you have enjoyed this tutorial, kindly leave a comment at the bottom of this post. We'd love to see pictures of any you make, just email them and they will be shared on this blog.




